
There comes a time during a migration project where you want to do a new final migration of a virtual machine because somehow, things went totally south.
The issue:
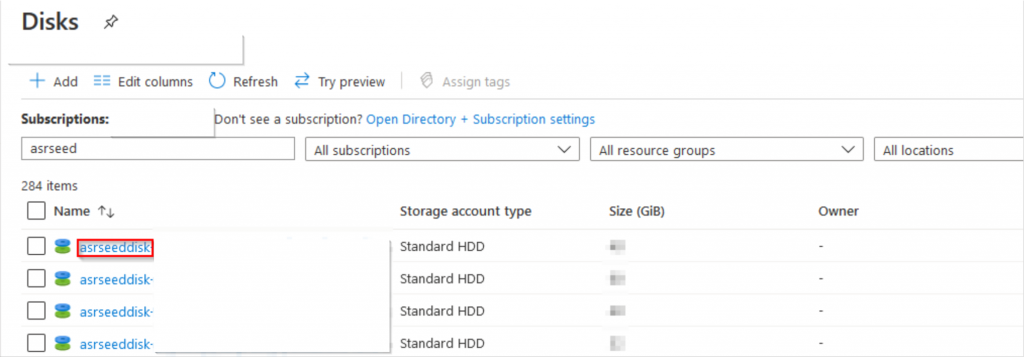
Once you performed a “final migration” action on the virtual machine you want to migrate. The only other option is to stop the replication and cleanup all azure site recovery disks. And if needed restart the entire replication from scratch.

Nice, if you’re looking at small-sized servers, not so nice if you’re looking at terabytes of data that requires replication.
The solution:
If it’s not too late already, and you haven’t stopped your replication yet. You will still be able to retrieve your replicated disks from the azure site recovery format.
You can re-use those to give your “final migration” action a second shot.
How to?
The following steps will guide you in setting up a new virtual machine based on these replica disks.
One of the key factors to take into account is that the current state of the “ASR” disk will not provide you with a working VM if you just attach the OS disks & Data Disks.
The reason why is because the so-called OS disk, is not yet flagged as a disk containing a valid Operating System. Here’s how you can create a copy of the ASR disks and convert them to a working Operating System Disk.
Powershell script
#Login Az Account
Clear-AzContext
Login-AzAccount

#Provide the subscription Id of the subscription where managed disk exists
$sourceSubscriptionId = "your subscription ID here"

#Provide the name of your resource group where managed disk exists
$sourceResourceGroupName = "the resource group that contains your managed disks"

#Provide the name of the managed ASR disk
$managedOSDiskname = "asr os disk name"
$managedDiskName = "asr data disk name"

#Set the context to the subscription Id where the Managed Disk exists
Select-AzSubscription -SubscriptionId $sourceSubscriptionId

#Get the source managed disk
$managedOSDisk = Get-AzDisk -ResourceGroupName $sourceResourceGroupName -DiskName $managedOSDiskname
$managedDisk = Get-AzDisk -ResourceGroupName $sourceResourceGroupName -DiskName $managedDiskName

#Set the OS type variable
$OsType = "WindowsServer , Linux, Other"
$OsDiskSize = "Enter a sizing for your OS disk"
$DataDiskSize = "Enter a sizing for your Data Disk"

$osdiskconfig = New-AzDiskConfig -SourceResourceId $managedOSDisk.Id -Location $managedOSDisk.Location -OsType $OsType -CreateOption Copy -DiskSizeGB $OsDiskSize
$diskConfig = New-AzDiskConfig -SourceResourceId $managedDisk.Id -Location $managedDisk.Location -CreateOption Copy -DiskSizeGB $DataDiskSize

#Create a new managed disk in the target subscription and resource group
$NewOSDiskname = "Your Virtual Machine Name -OSdisk"
New-AzDisk -Disk $osdiskconfig -DiskName $NewOSDiskname -ResourceGroupName $sourceResourceGroupName
$NewDiskname = "Your Virtual Machine Name -Datadisk"
New-AzDisk -Disk $diskConfig -DiskName $NewDiskname -ResourceGroupName $sourceResourceGroupName

#After running the previous command you will now have a valid OS Disk and Data Disk that can be attached to a virtual machine.
Thank you!
Thank you for reading through this blog post, I hope I have been able to assist in your Azure Migration journey.
If you encounter any new insights, feel free to drop me a comment or contact me via mail or other social media channels