
In this post I want to guide you in how to install Microsoft Teams (Machine-Wide) on Windows Virtual Desktop with a very easy to use powershell module called TeamsOnWVD.
Why?
Let me first set the stage and the reason why I’ve written this small powershell module.
When browsing the web for best practices on installing Microsoft Teams on Windows Virtual Desktop, I often encountered colleagues struggling with getting the Microsoft Teams (Machine-Wide) installer up and running. And a lot of questions have been raised as well with regards to un-installing teams completely.
With this powershell module, I hope to provide an added value to installing and un-installing Teams in just minutes.
How it works
Below you can find a step by step guide on how to use the powershell module, and see it’s effects on your systems.
Installing Teams on WVD – Step by step
Below screenshot is a view on my Windows Virtual Desktop Host, as you can see in the start menu, I don’t have any entries so far for Microsoft Teams.
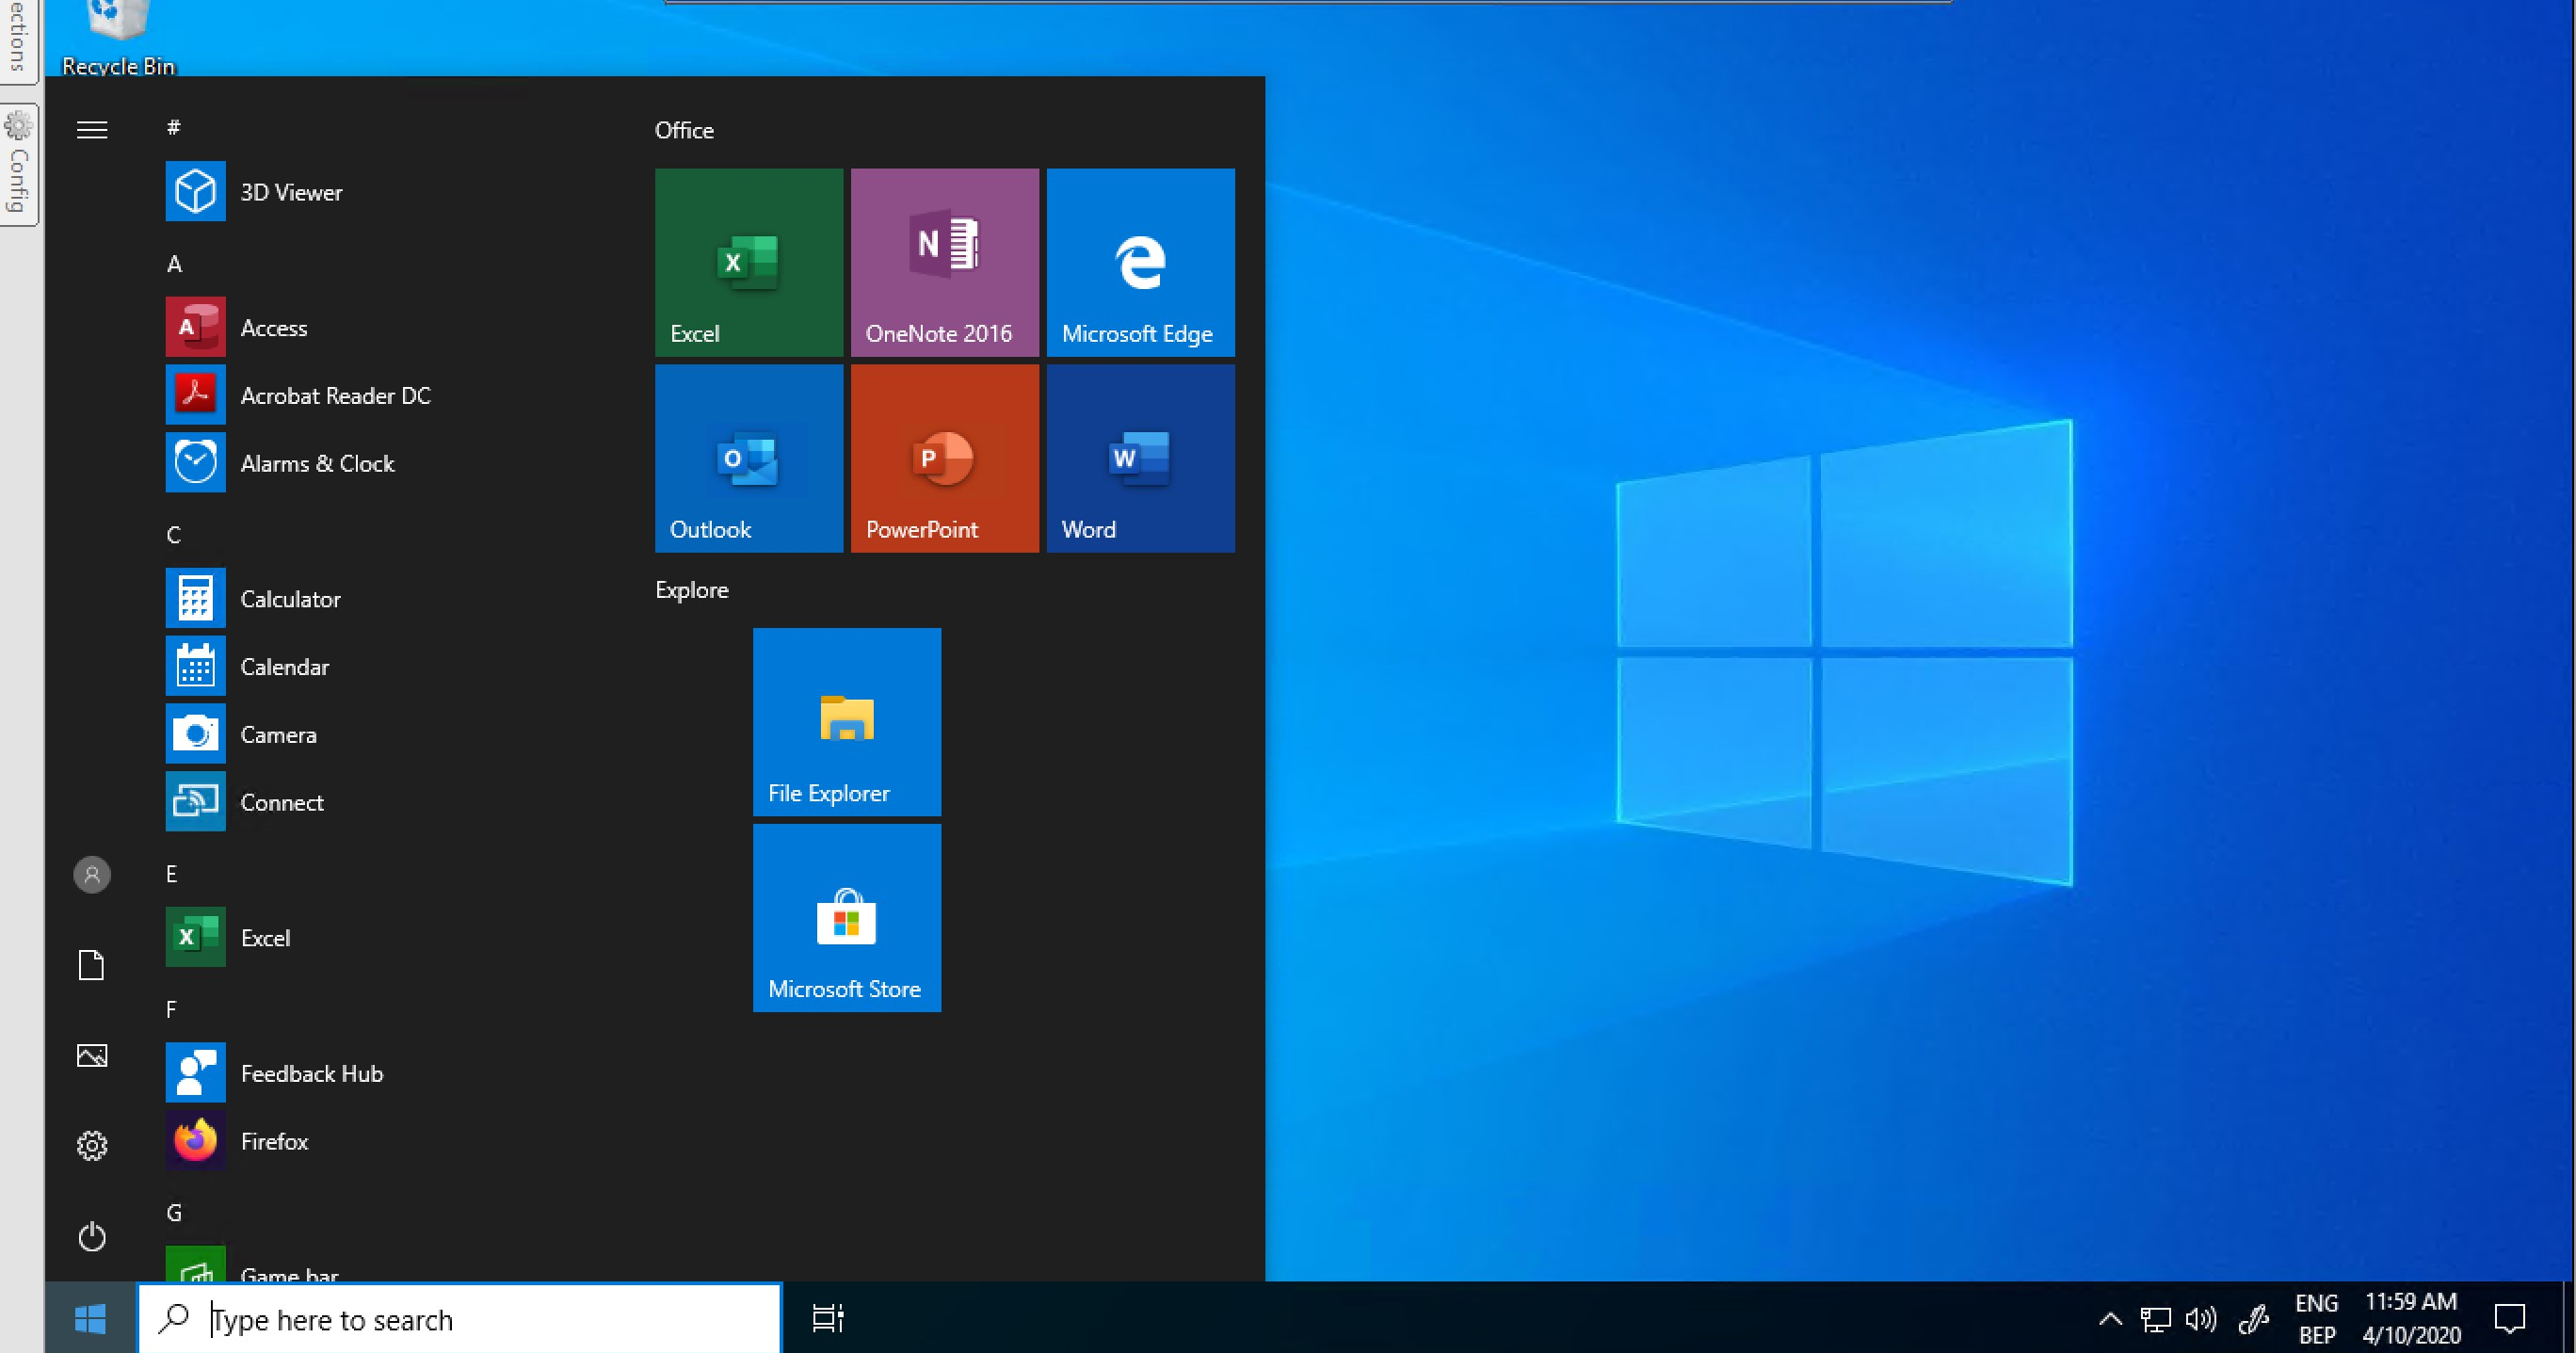
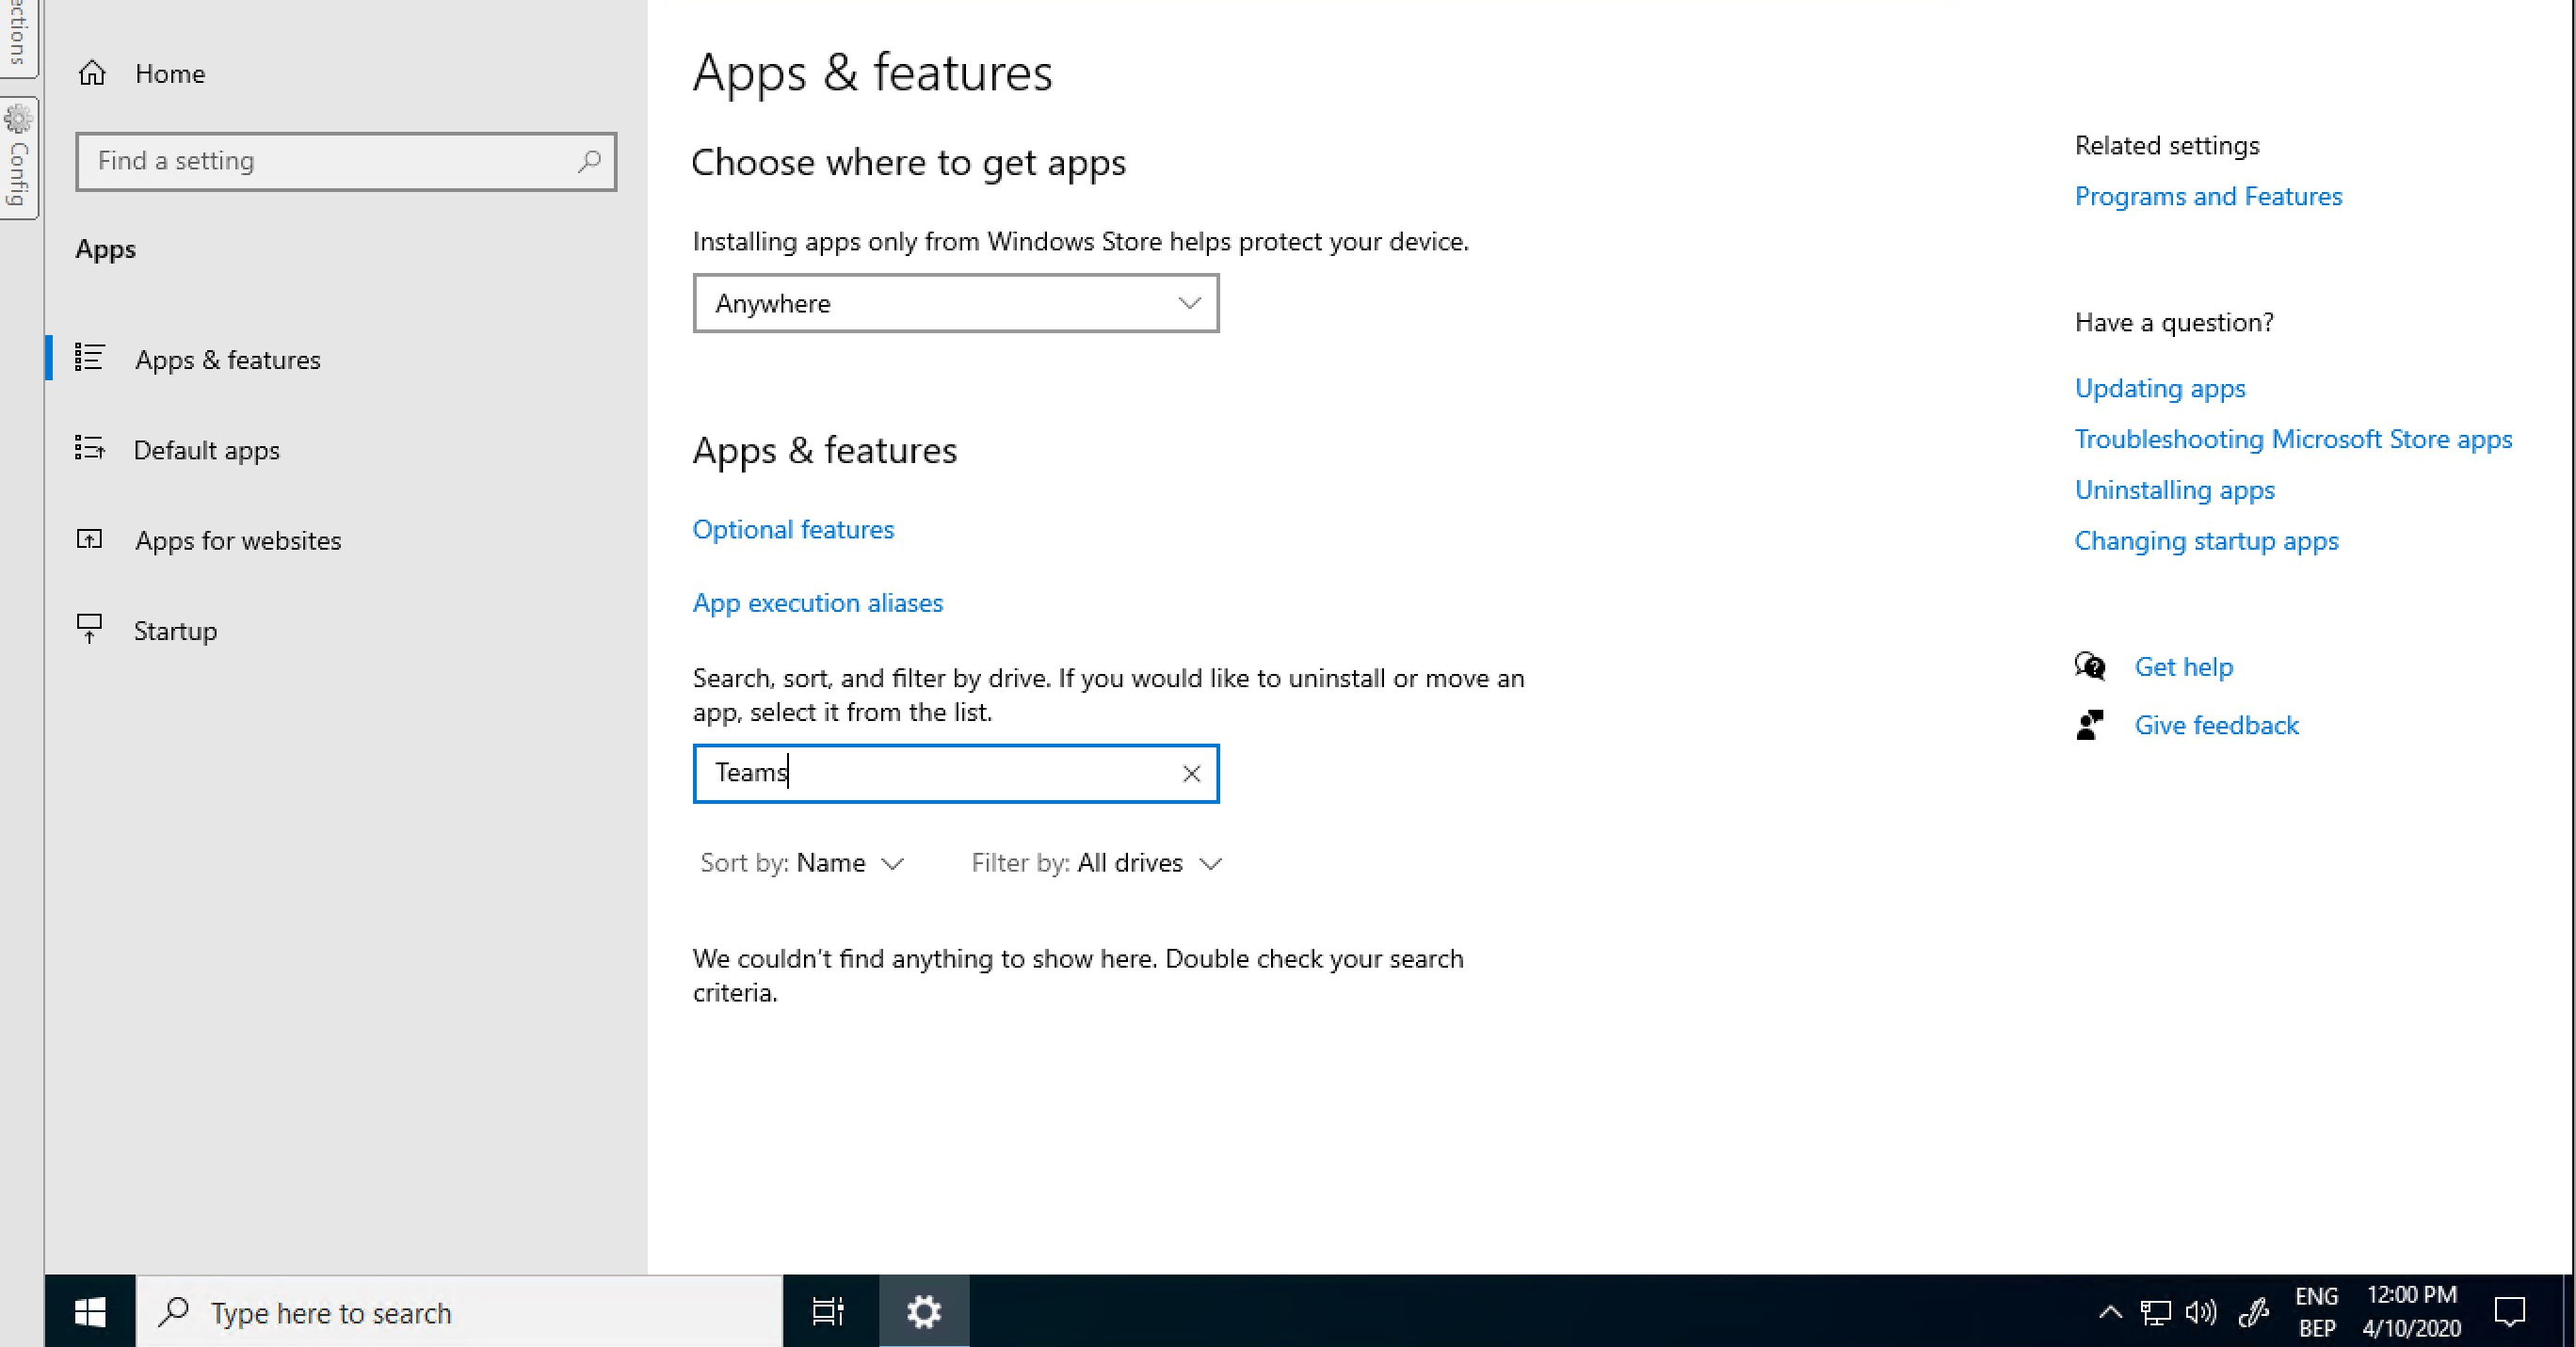
And if I take a look at my App & Features, nothing to show here as well.
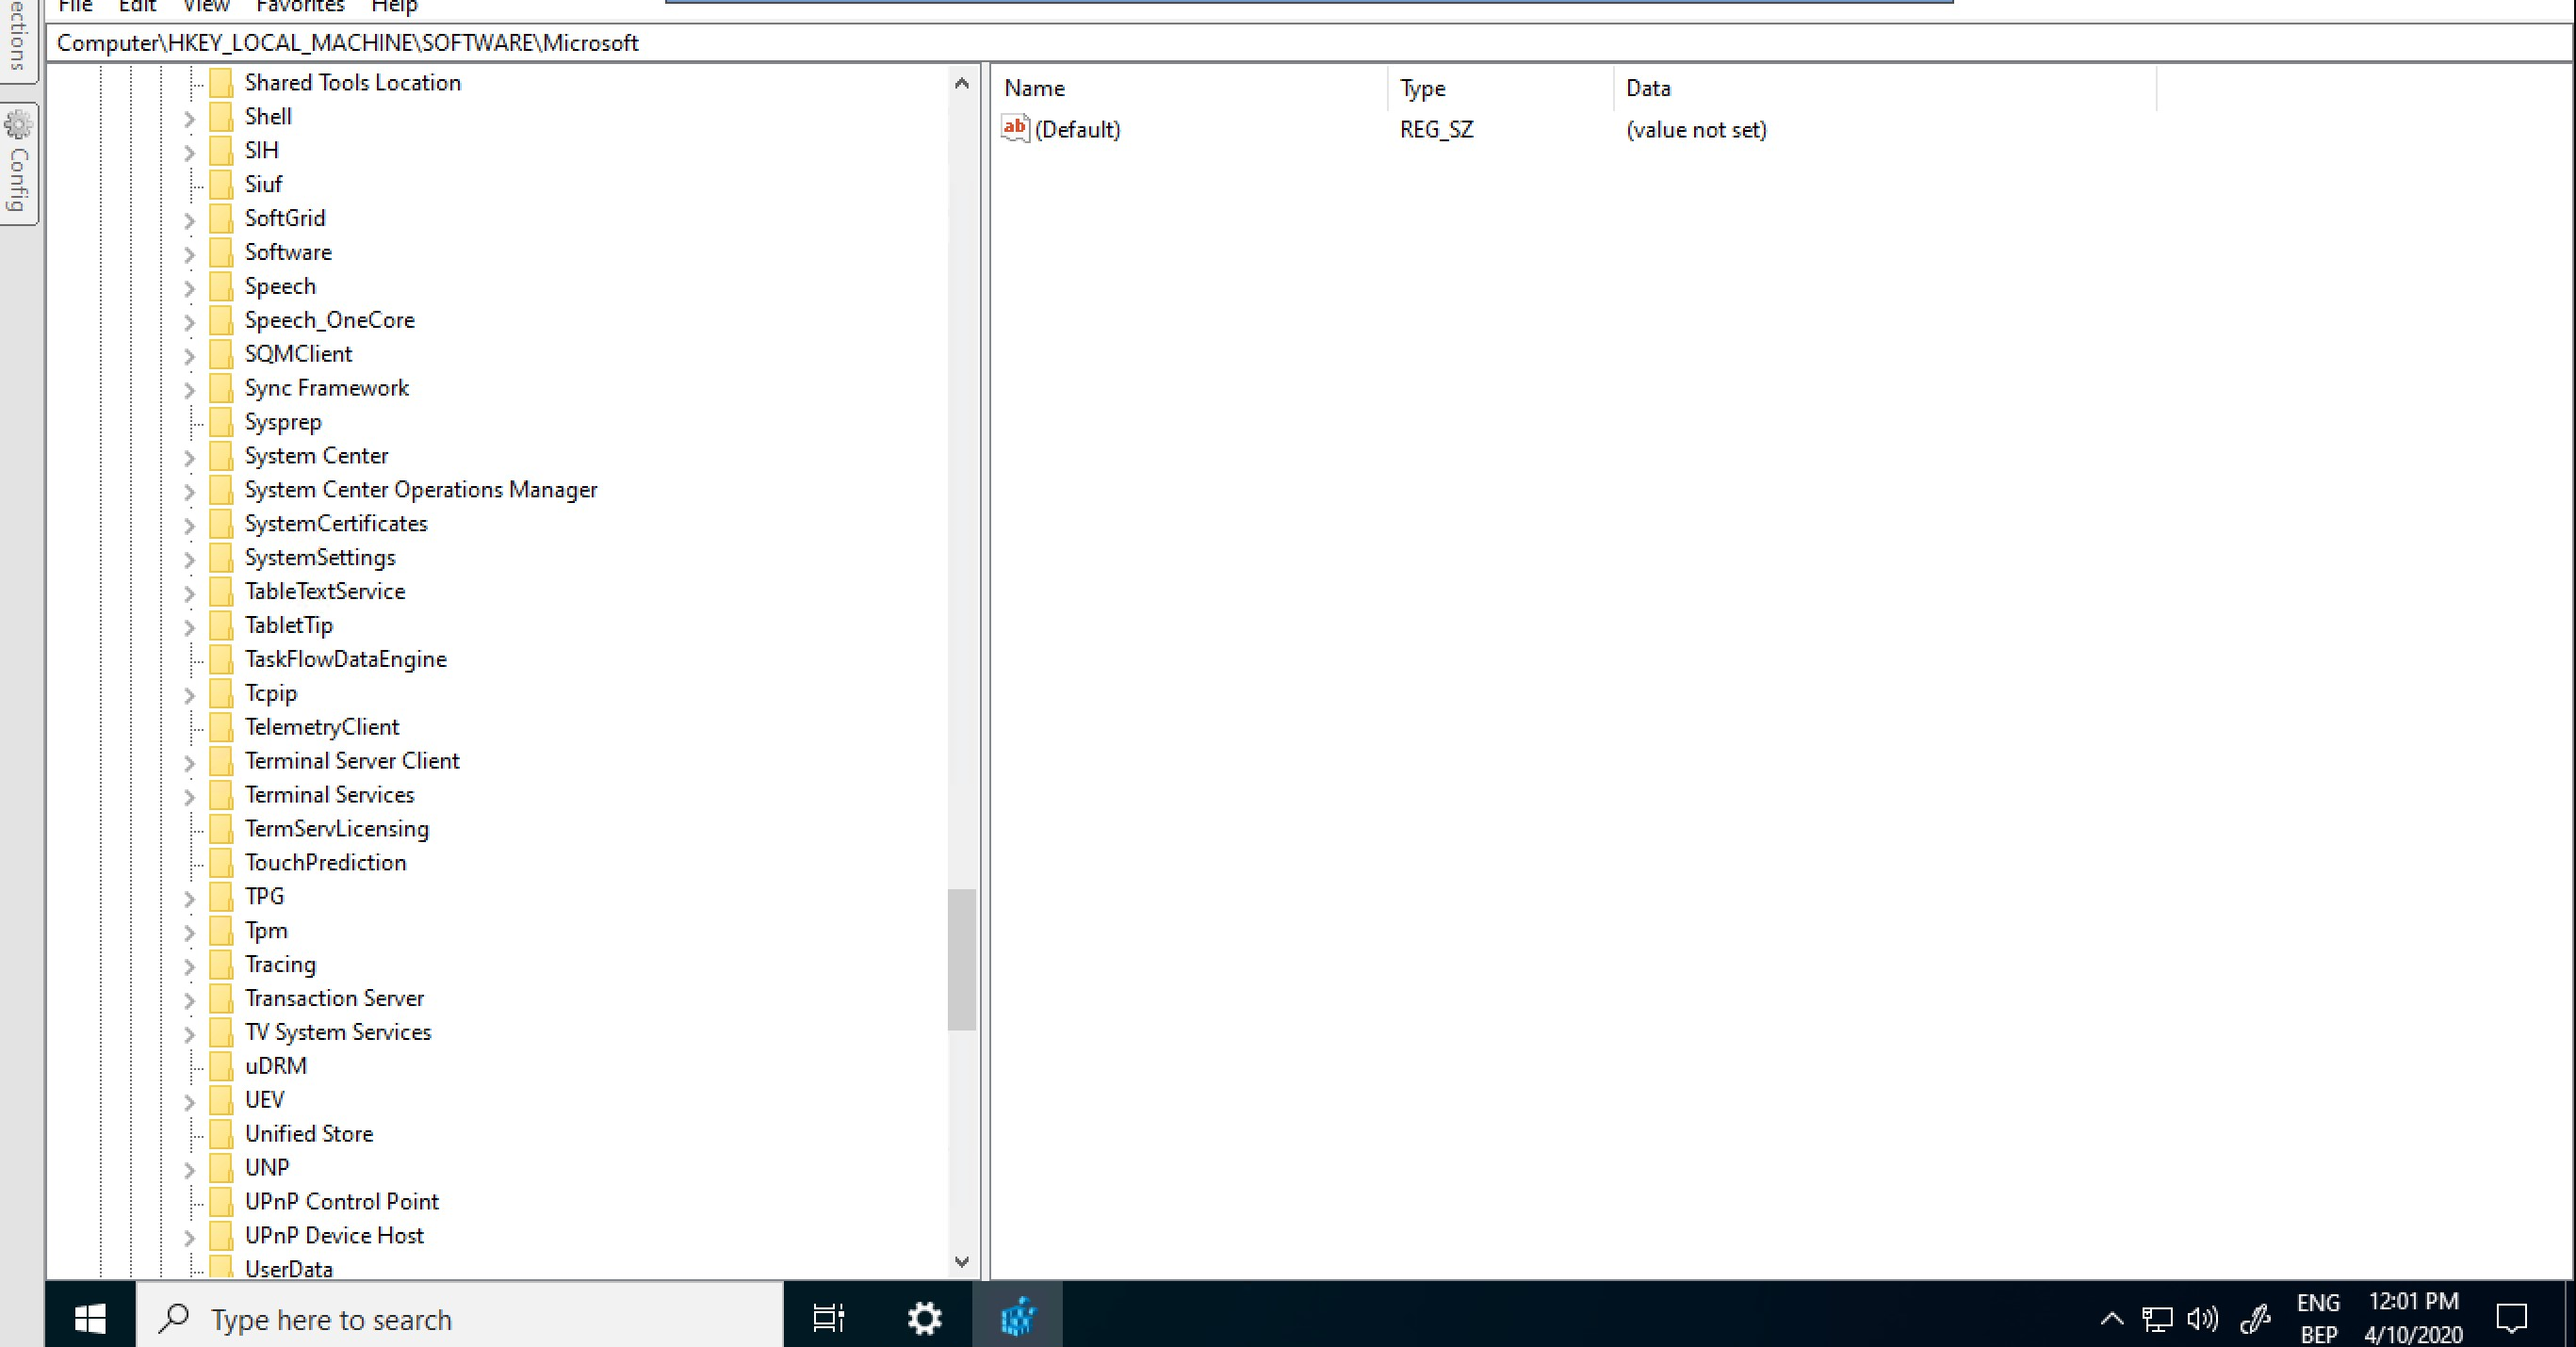
An important step, before you install Teams on your Windows Virtual Desktop host, is the Teams regkey, that indicates that it is a WVD environment:
@Christaan Brinkhoff has a summarizing blogpost on all WVD recommendations. Check here for more details.
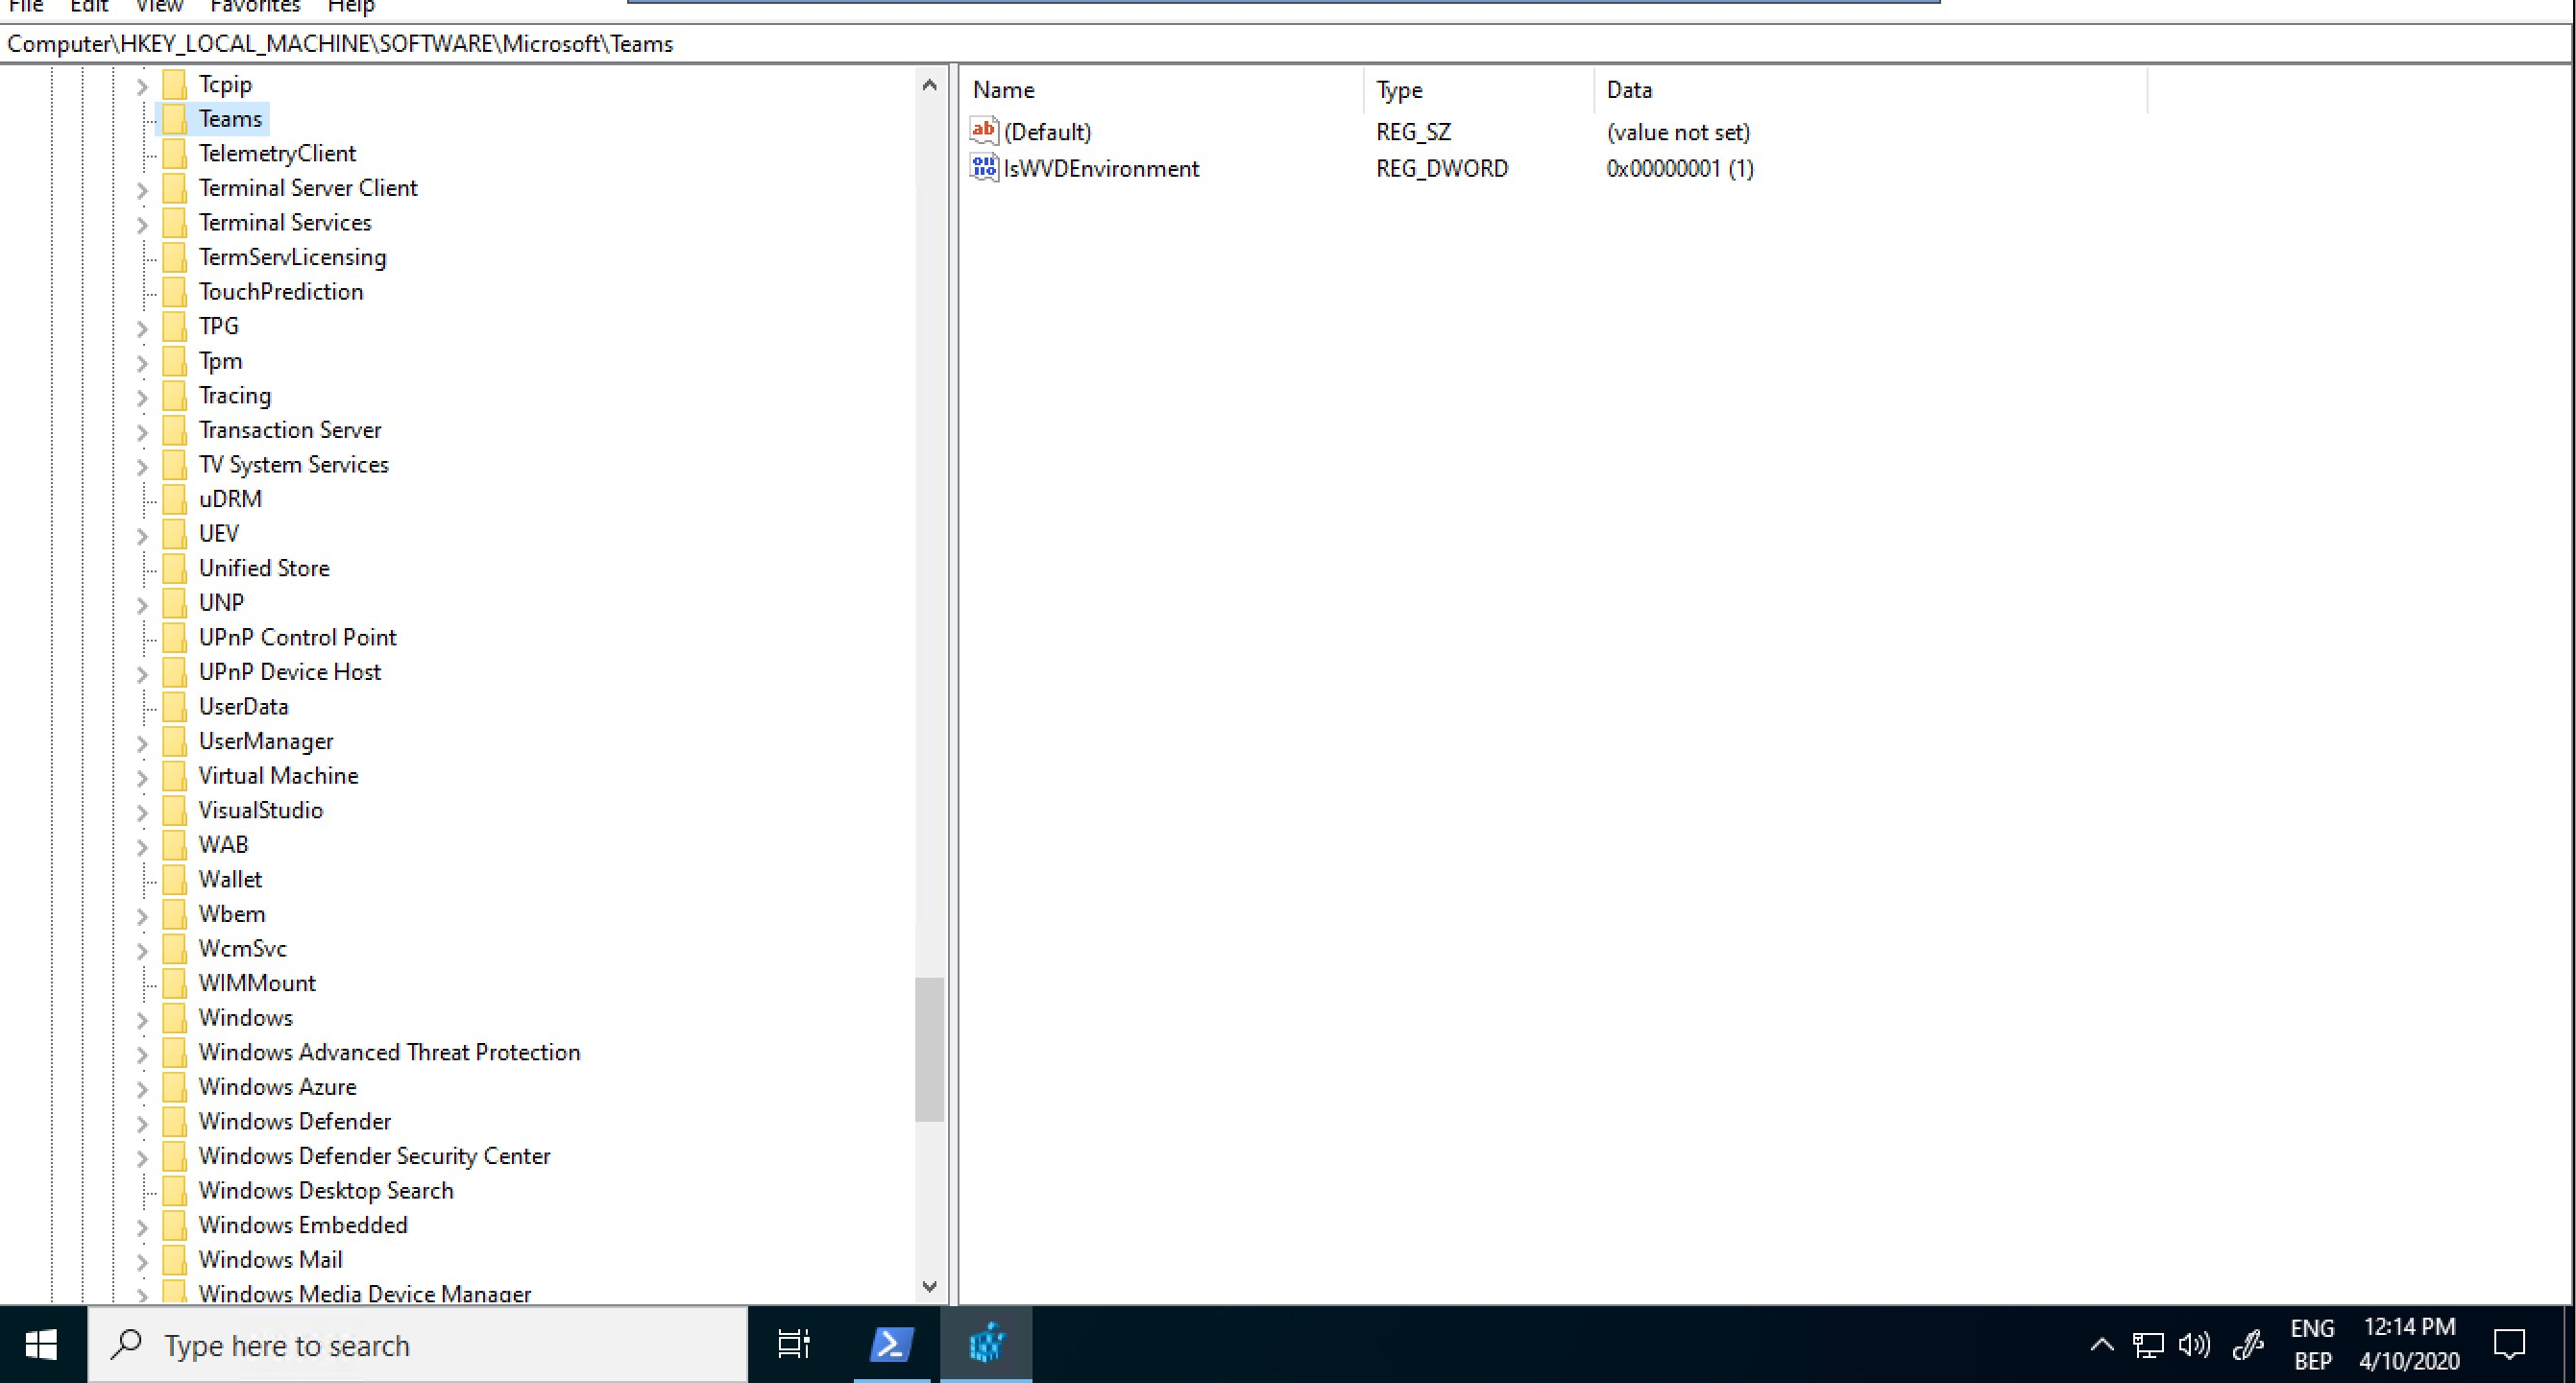
This is the regkey we will be needing:
[HKEY_LOCAL_MACHINE\SOFTWARE\Microsoft\Teams\IsWVDEnvironment] Type: REG_DWORD Value: 0x1
As you can see in the screenshot below, that registry key is missing.
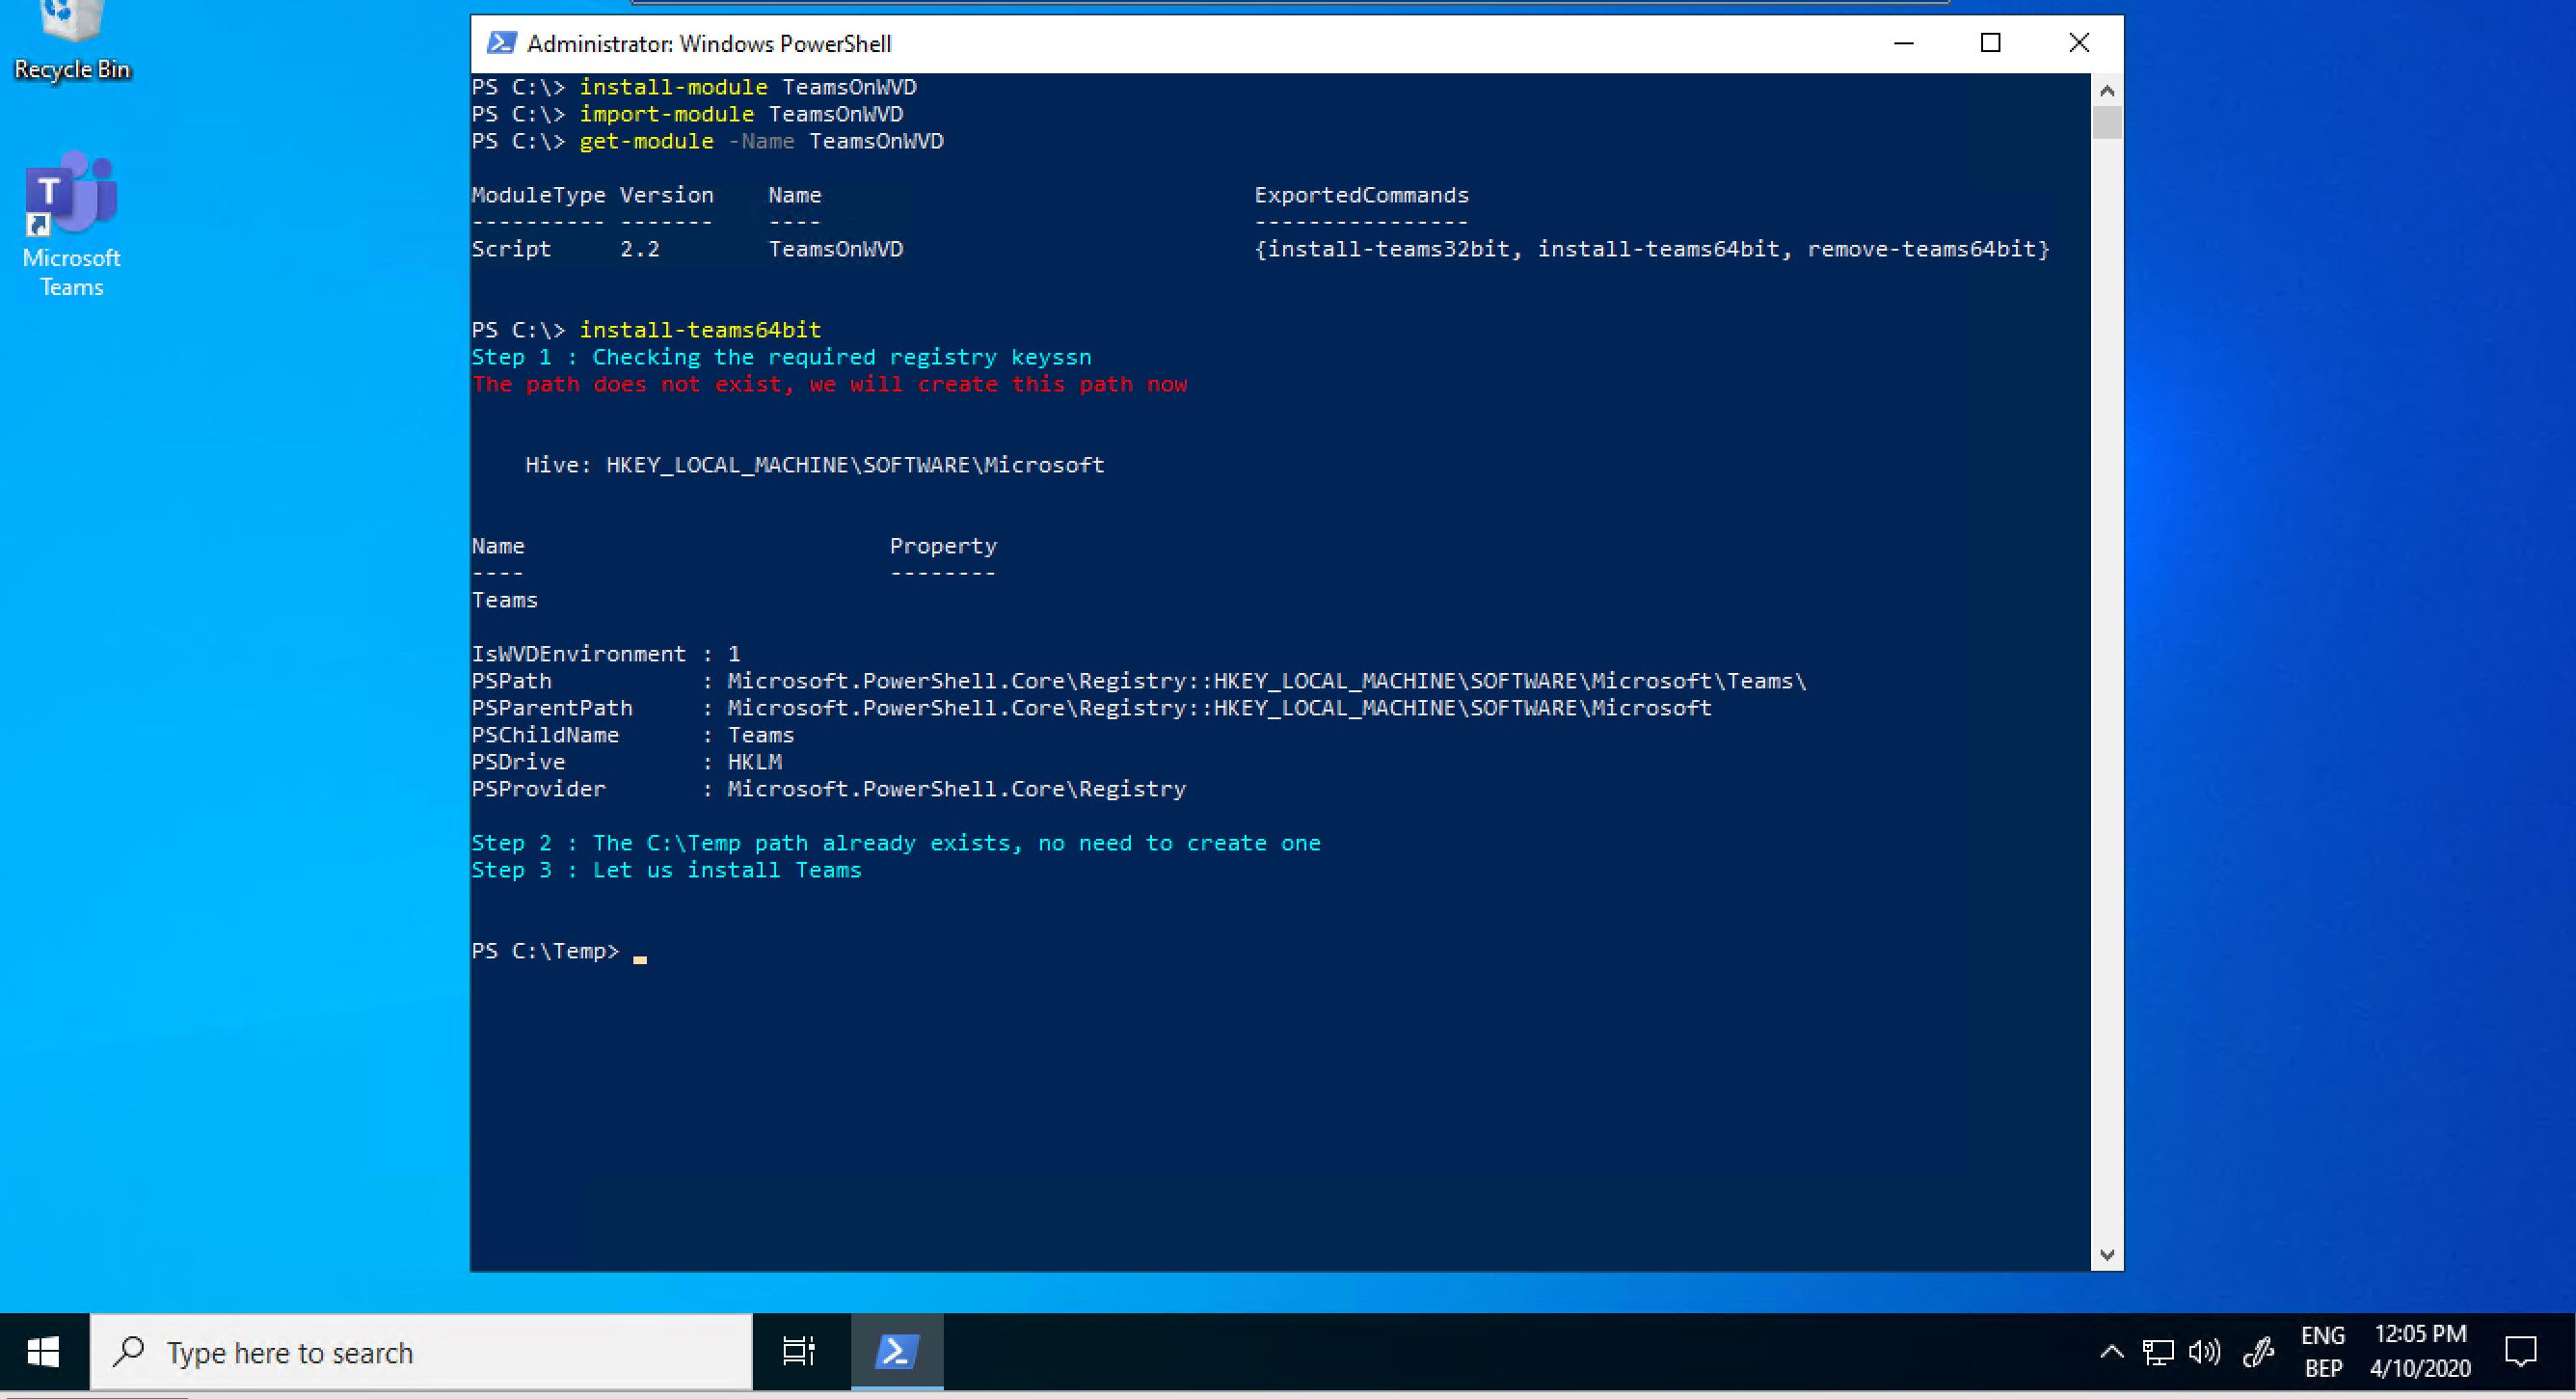
Now, let’s go to our TeamsOnWVD module, follow the steps in the screenshot below to install and import the module.
Install-Module TeamsOnWVD
Import-Module TeamsOnWVD
Get-Module -Name TeamsOnWVD

After having imported the TeamsOnWVD module, run the install-teams64bit command.
Install-Teams64bit
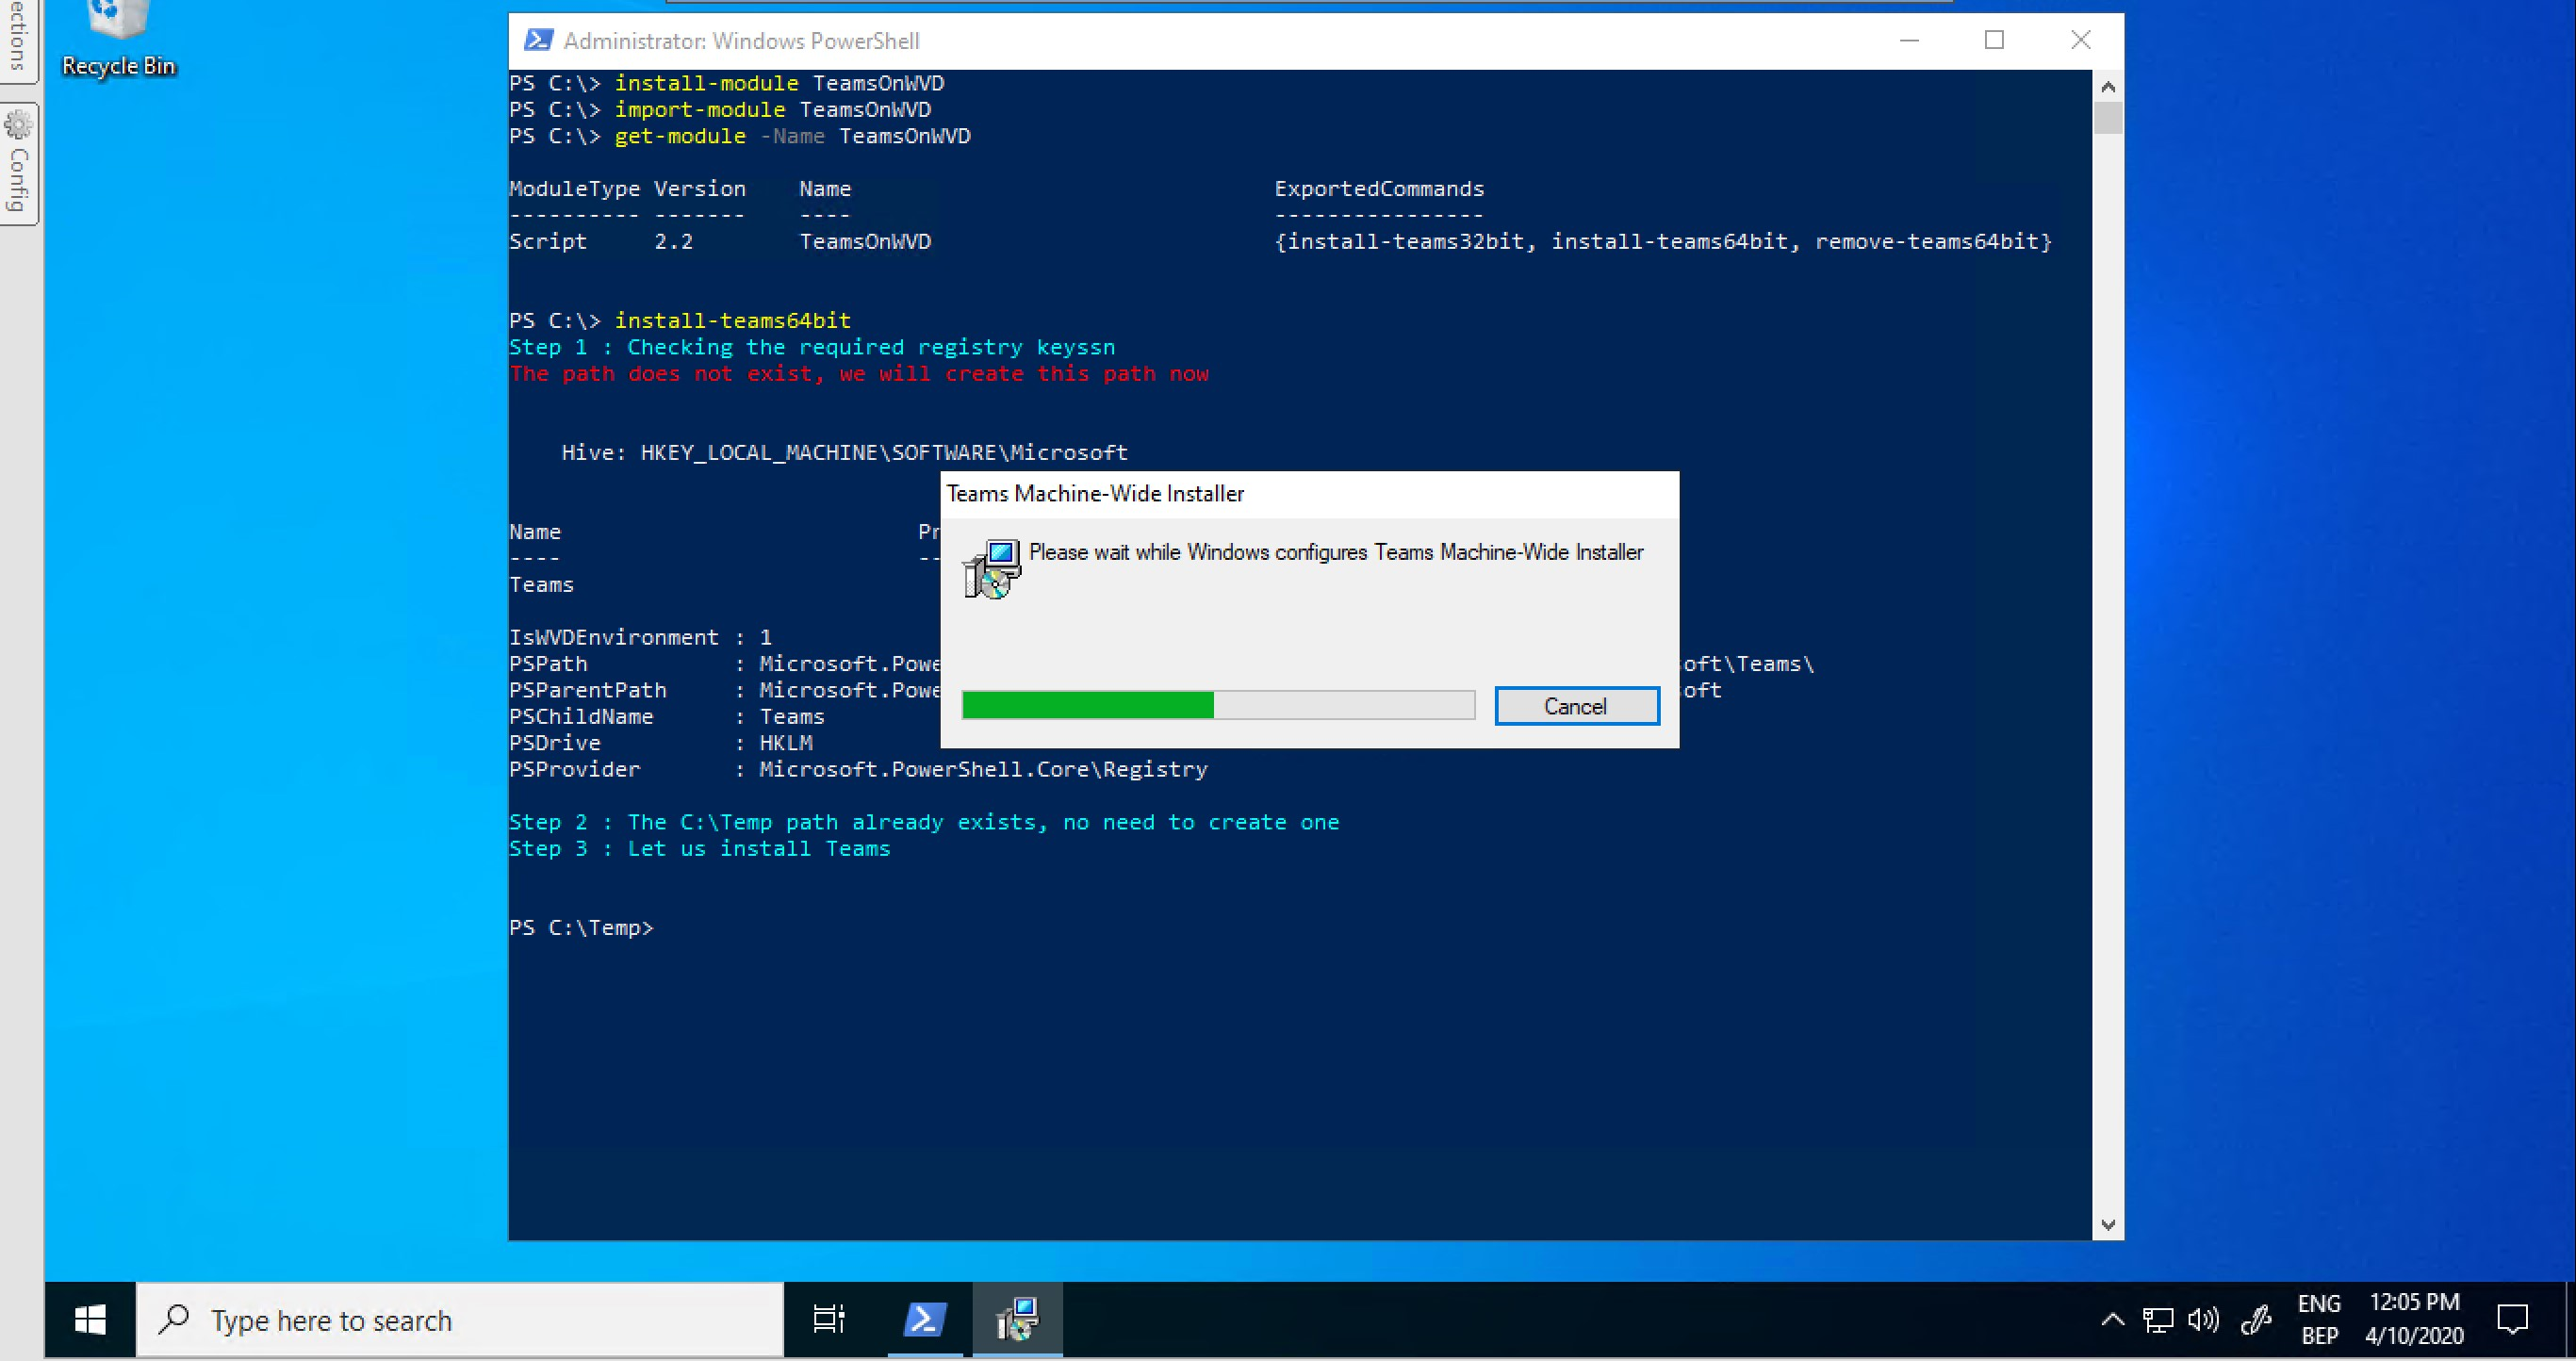
And this is where the magic happened, we’ve made sure that the registry key is added, and downloaded the latest version of the Teams msi file and installed it with the right set of parameters.
After running the cmdlet, Teams has been published on our desktop and is ready to be launched.
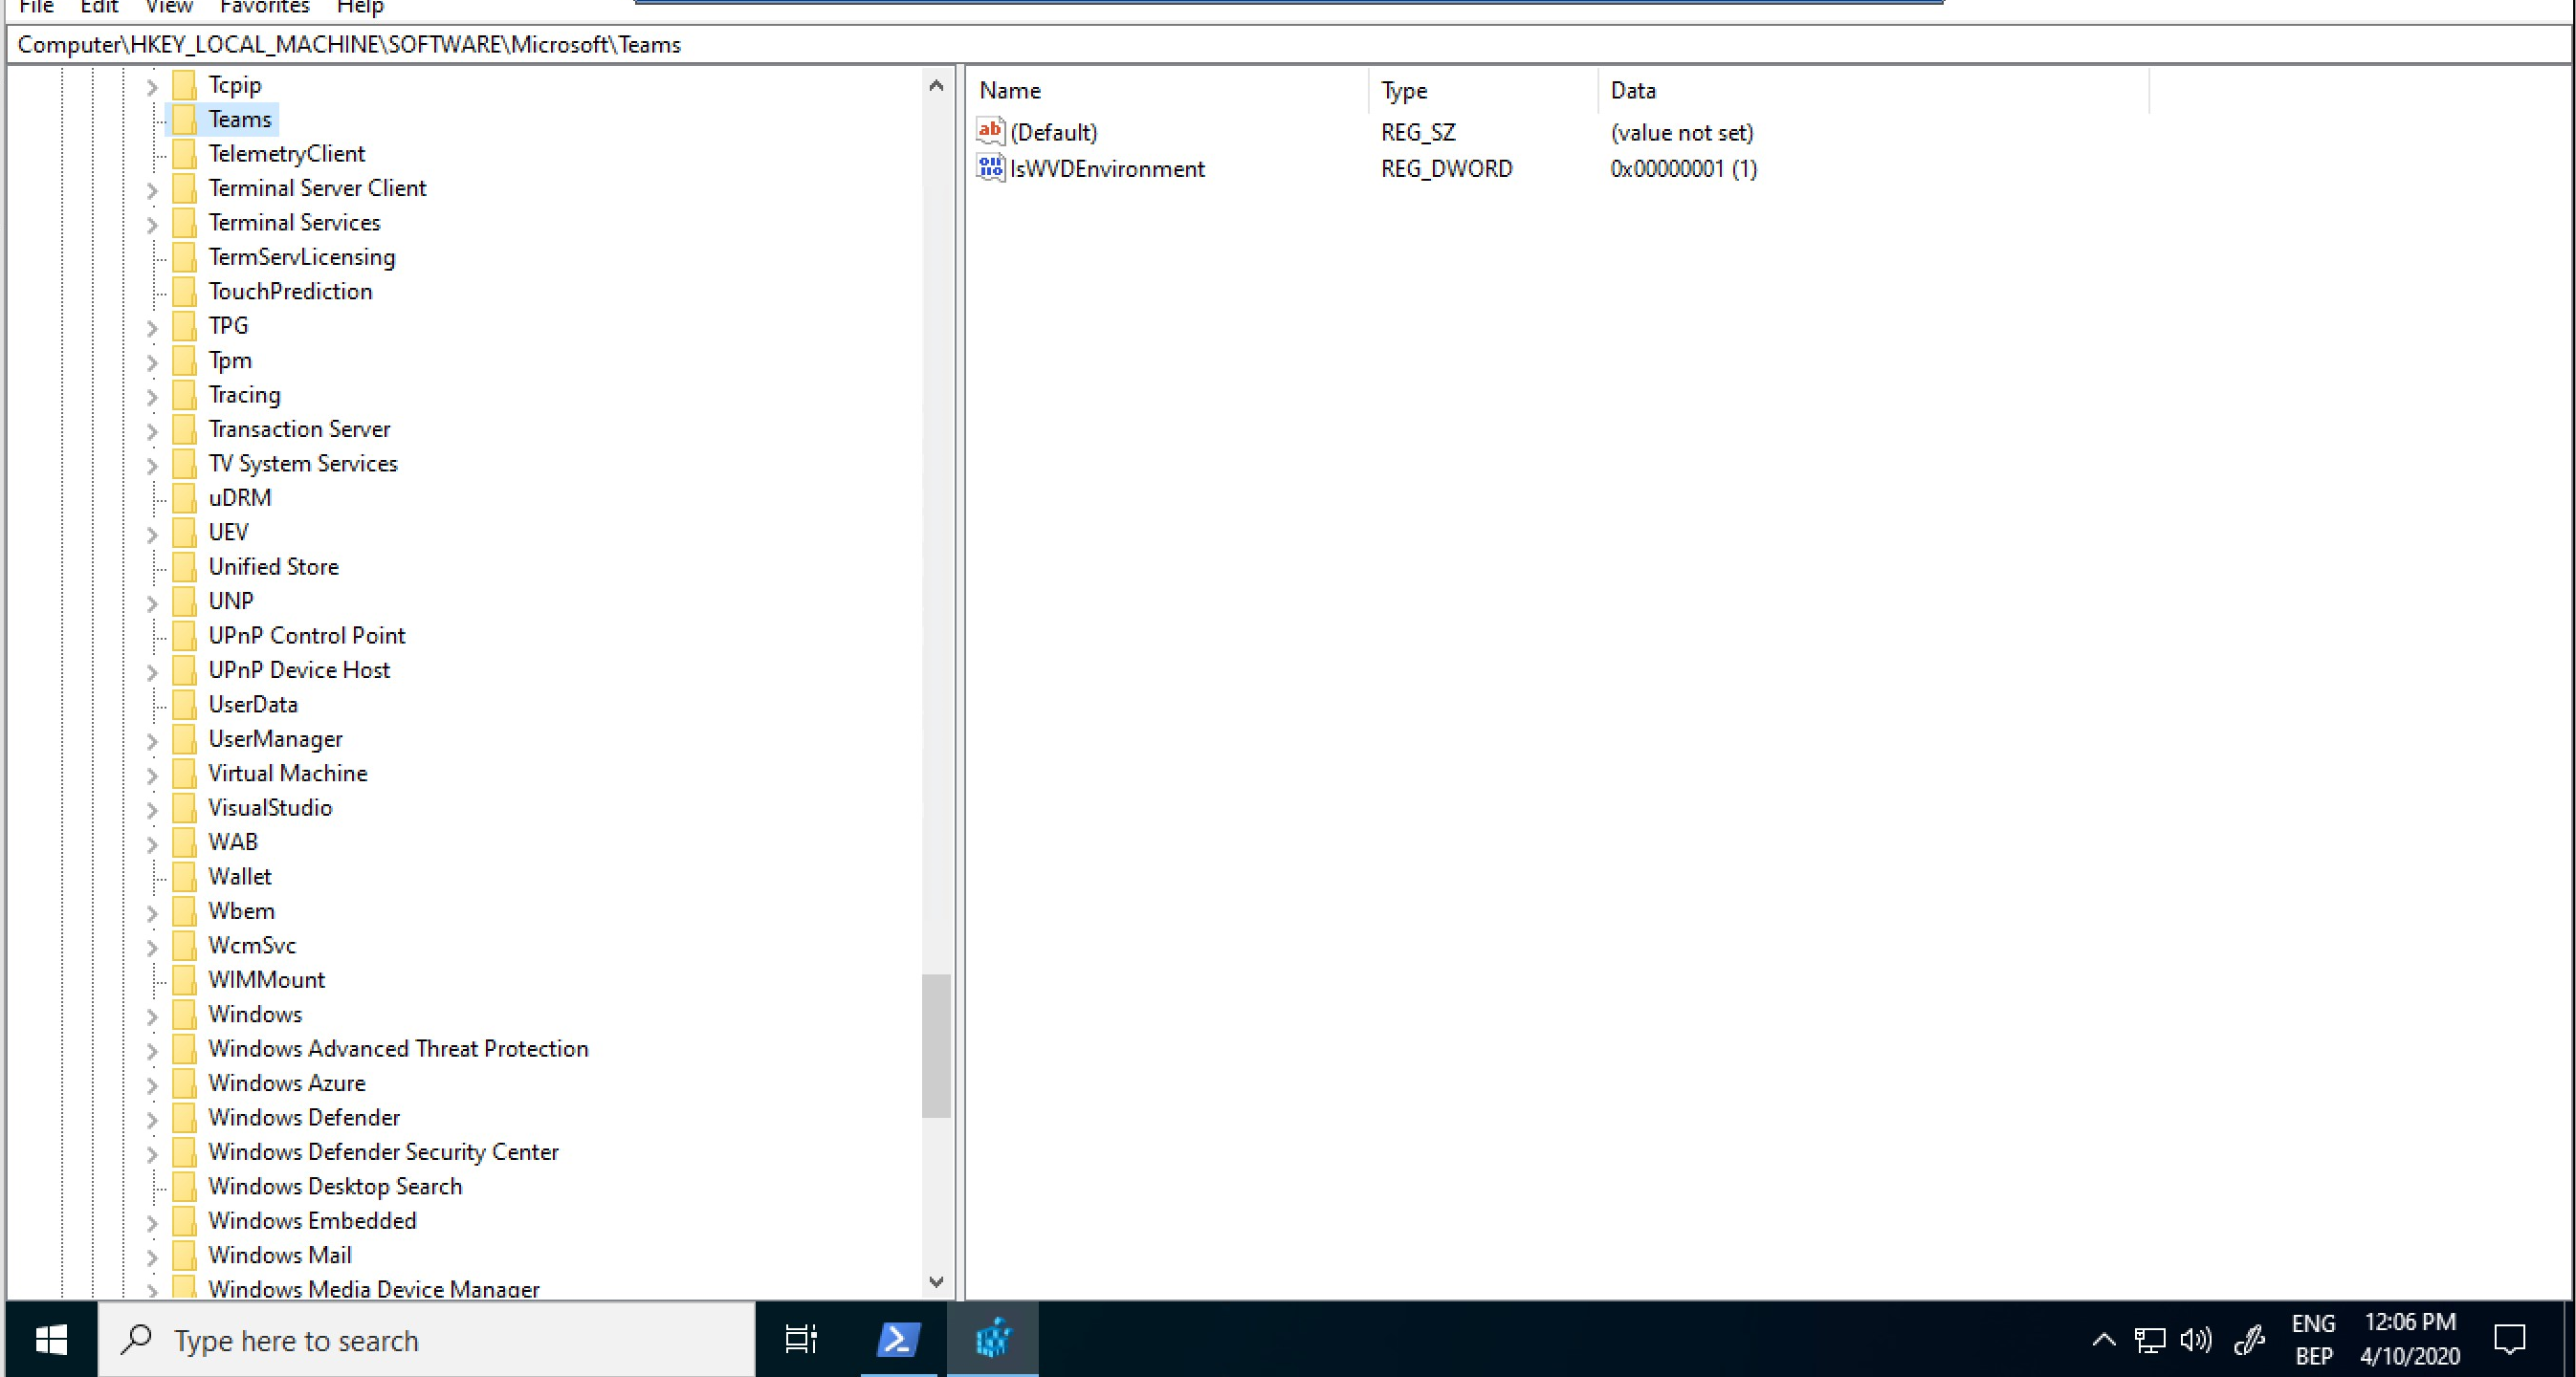
Below screenshot shows that our registry key is available now.
Launching Teams
So, we’ve installed Microsoft Teams, let’s make sure that everything works for our end-users.
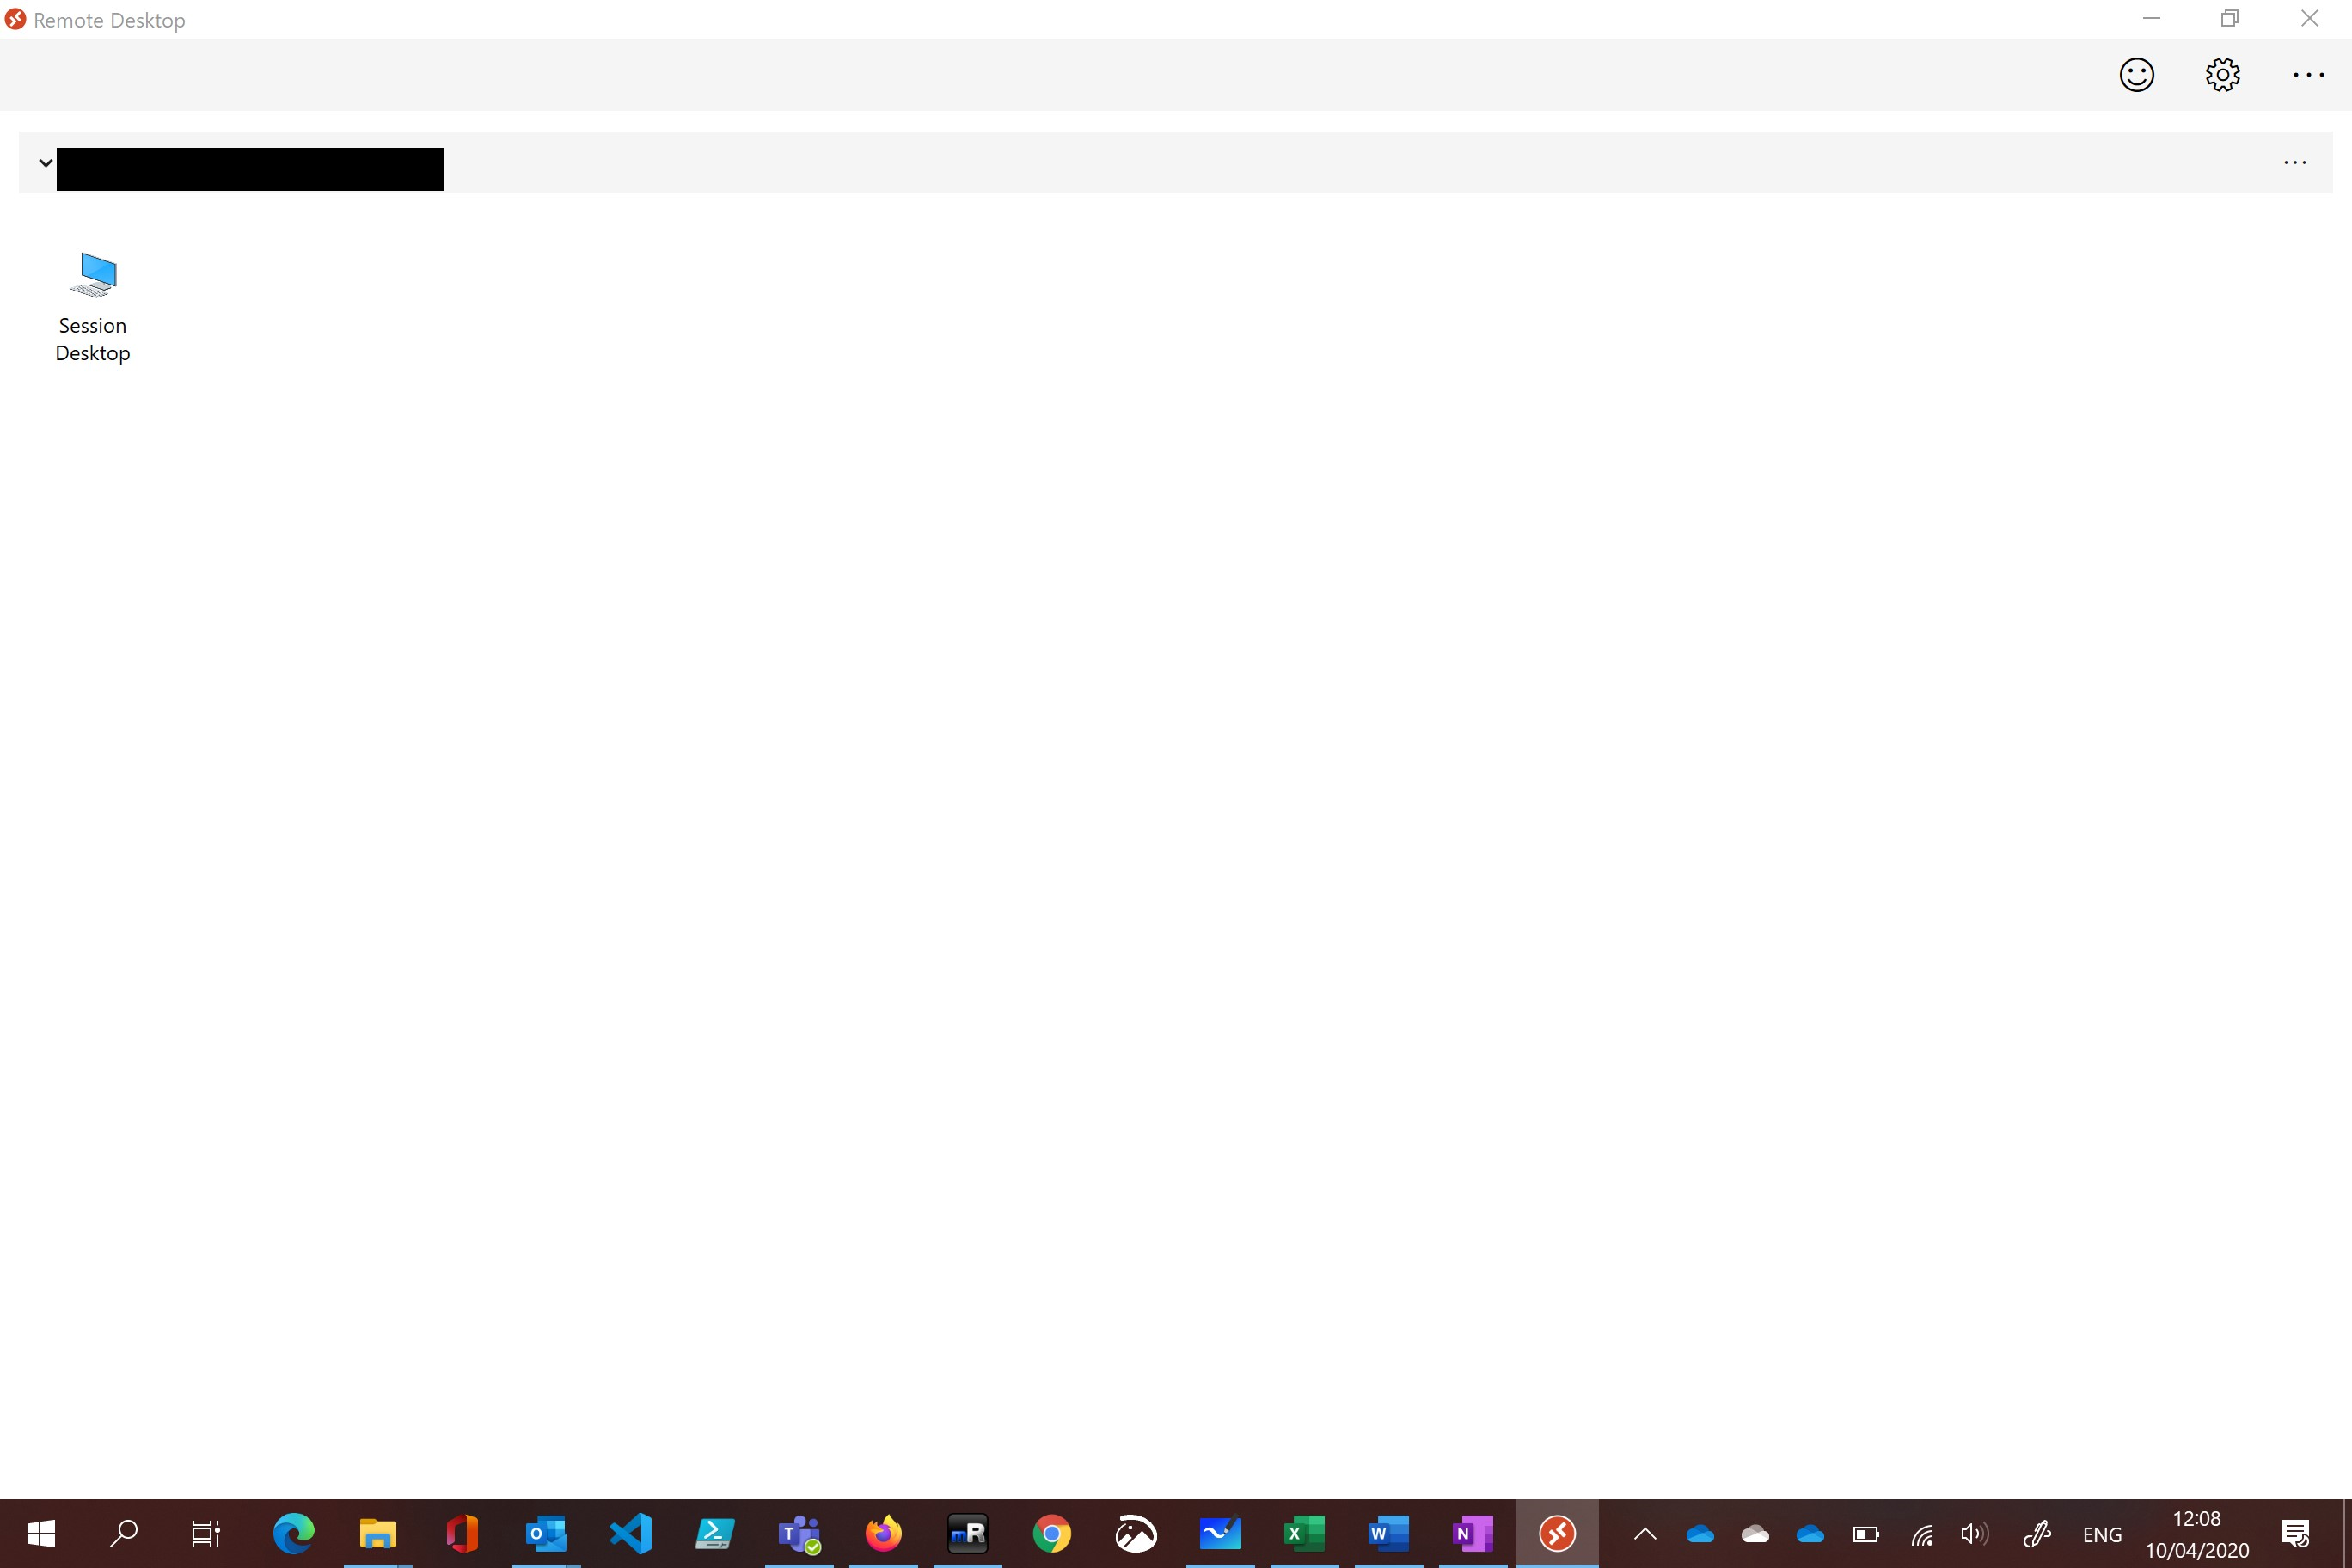
The screenshot below allows me to connect to one of my session desktops.
After have connected to my desktop, Microsoft Teams is auto-launching in my session.
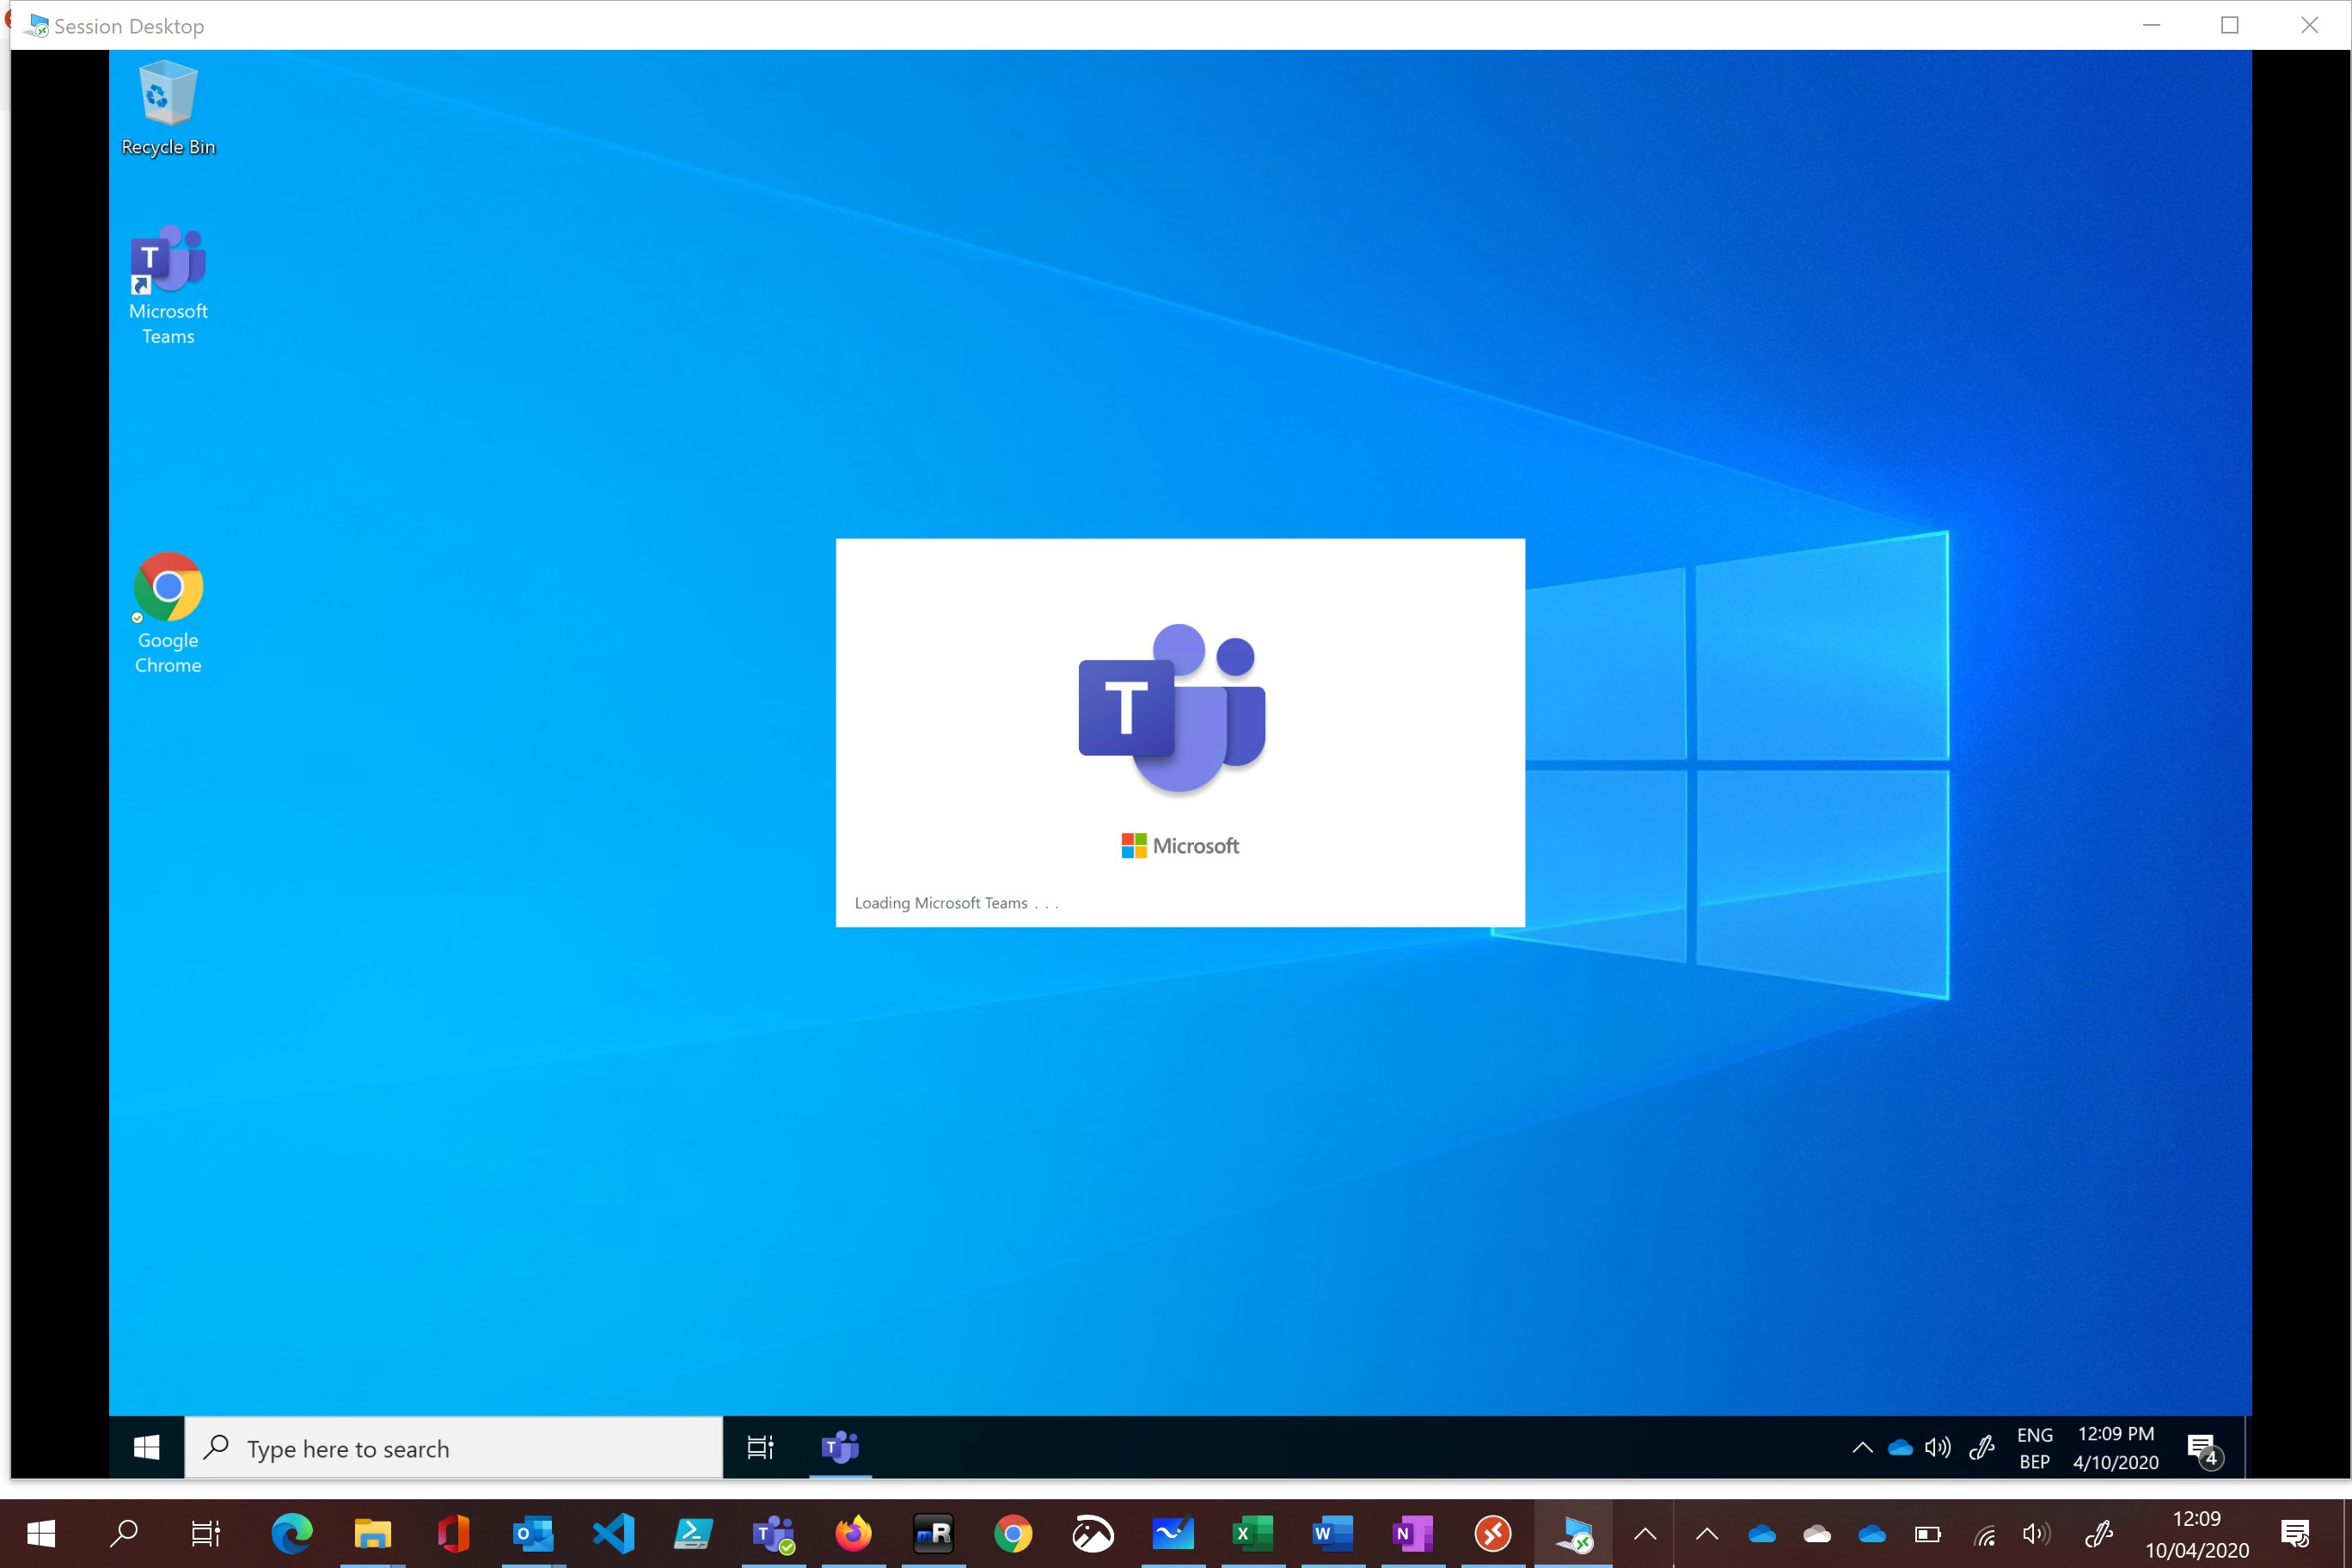
And here we go, we have a fully functioning Microsoft Teams client on Windows Virtual Desktop, which is available to all my users.

Un-installing Teams on WVD and other systems
If we want to un-install Microsoft Teams on our WVD hosts, we have a couple of things to check.
First of let us check which versions of Teams are available, below screenshot only indicates the “Machine Wide” installer, but User installed Teams versions might be here as well.
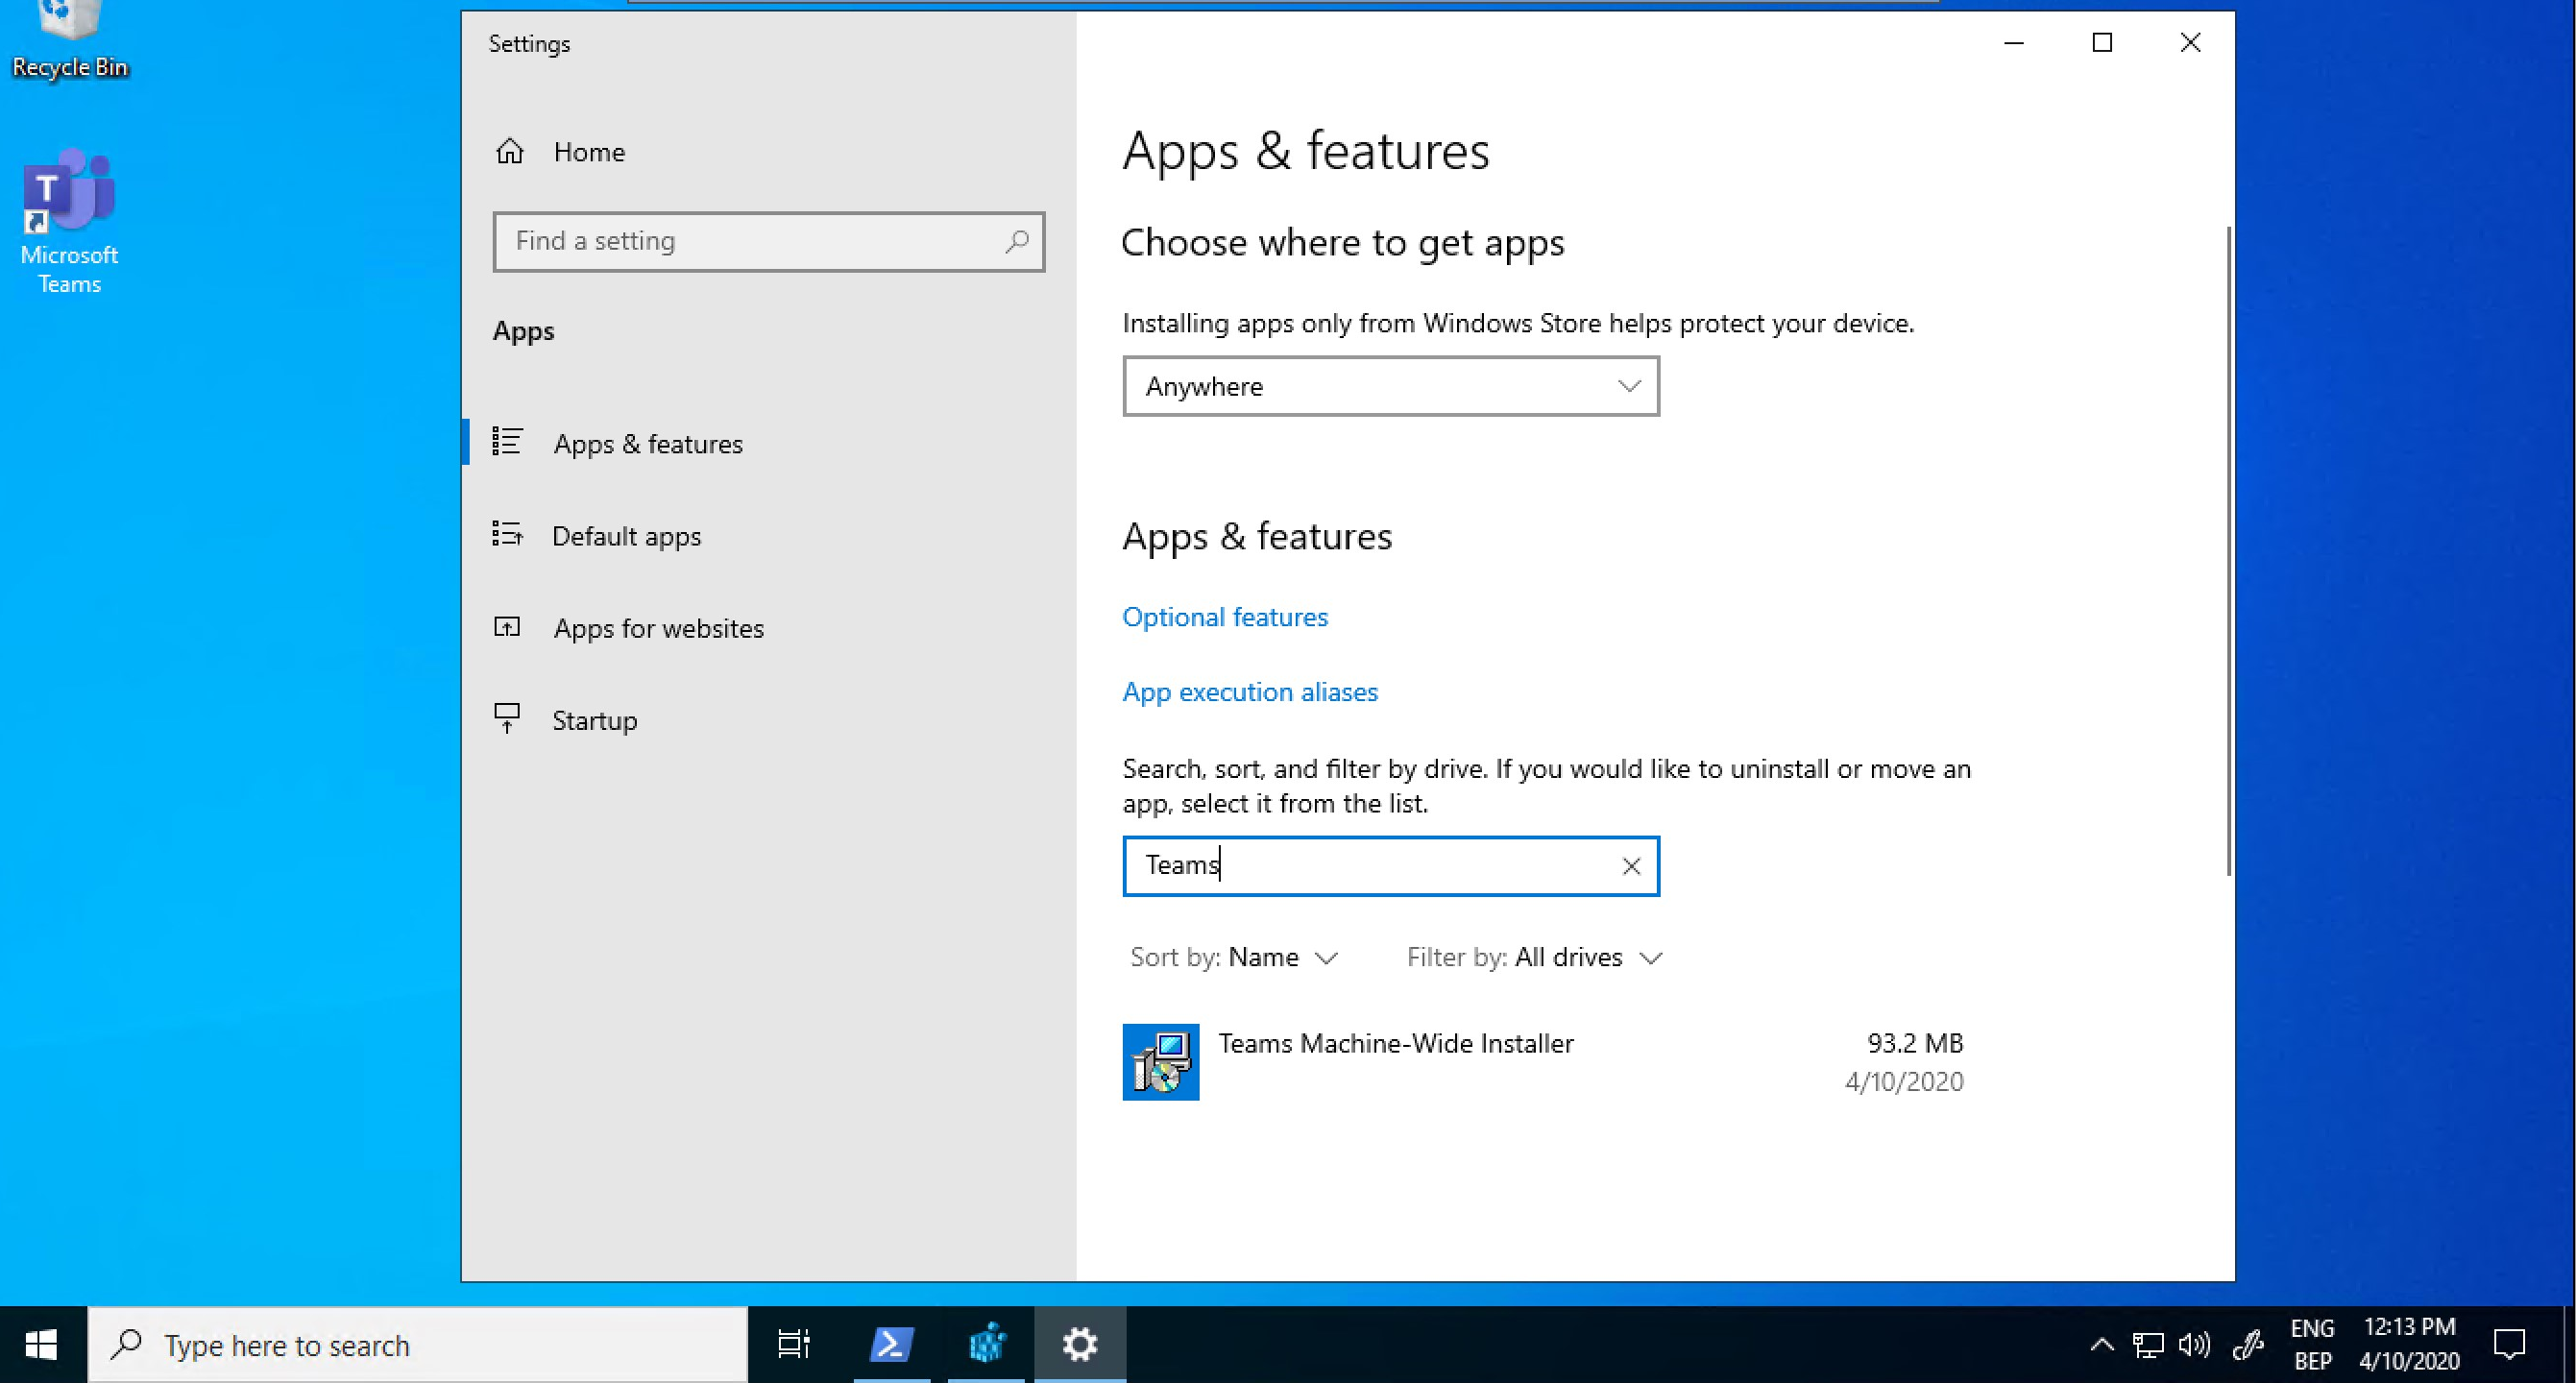
The registry key that we needed earlier is still there, so we might want to clean that one up.
To quickly uninstall all versions on Teams on your WVD hosts, run the Remove-Teams64bit cmdlet. This will check for any versions installed on your system and will cleanup all end-user repositories and the registry key.
Remove-Teams64bit
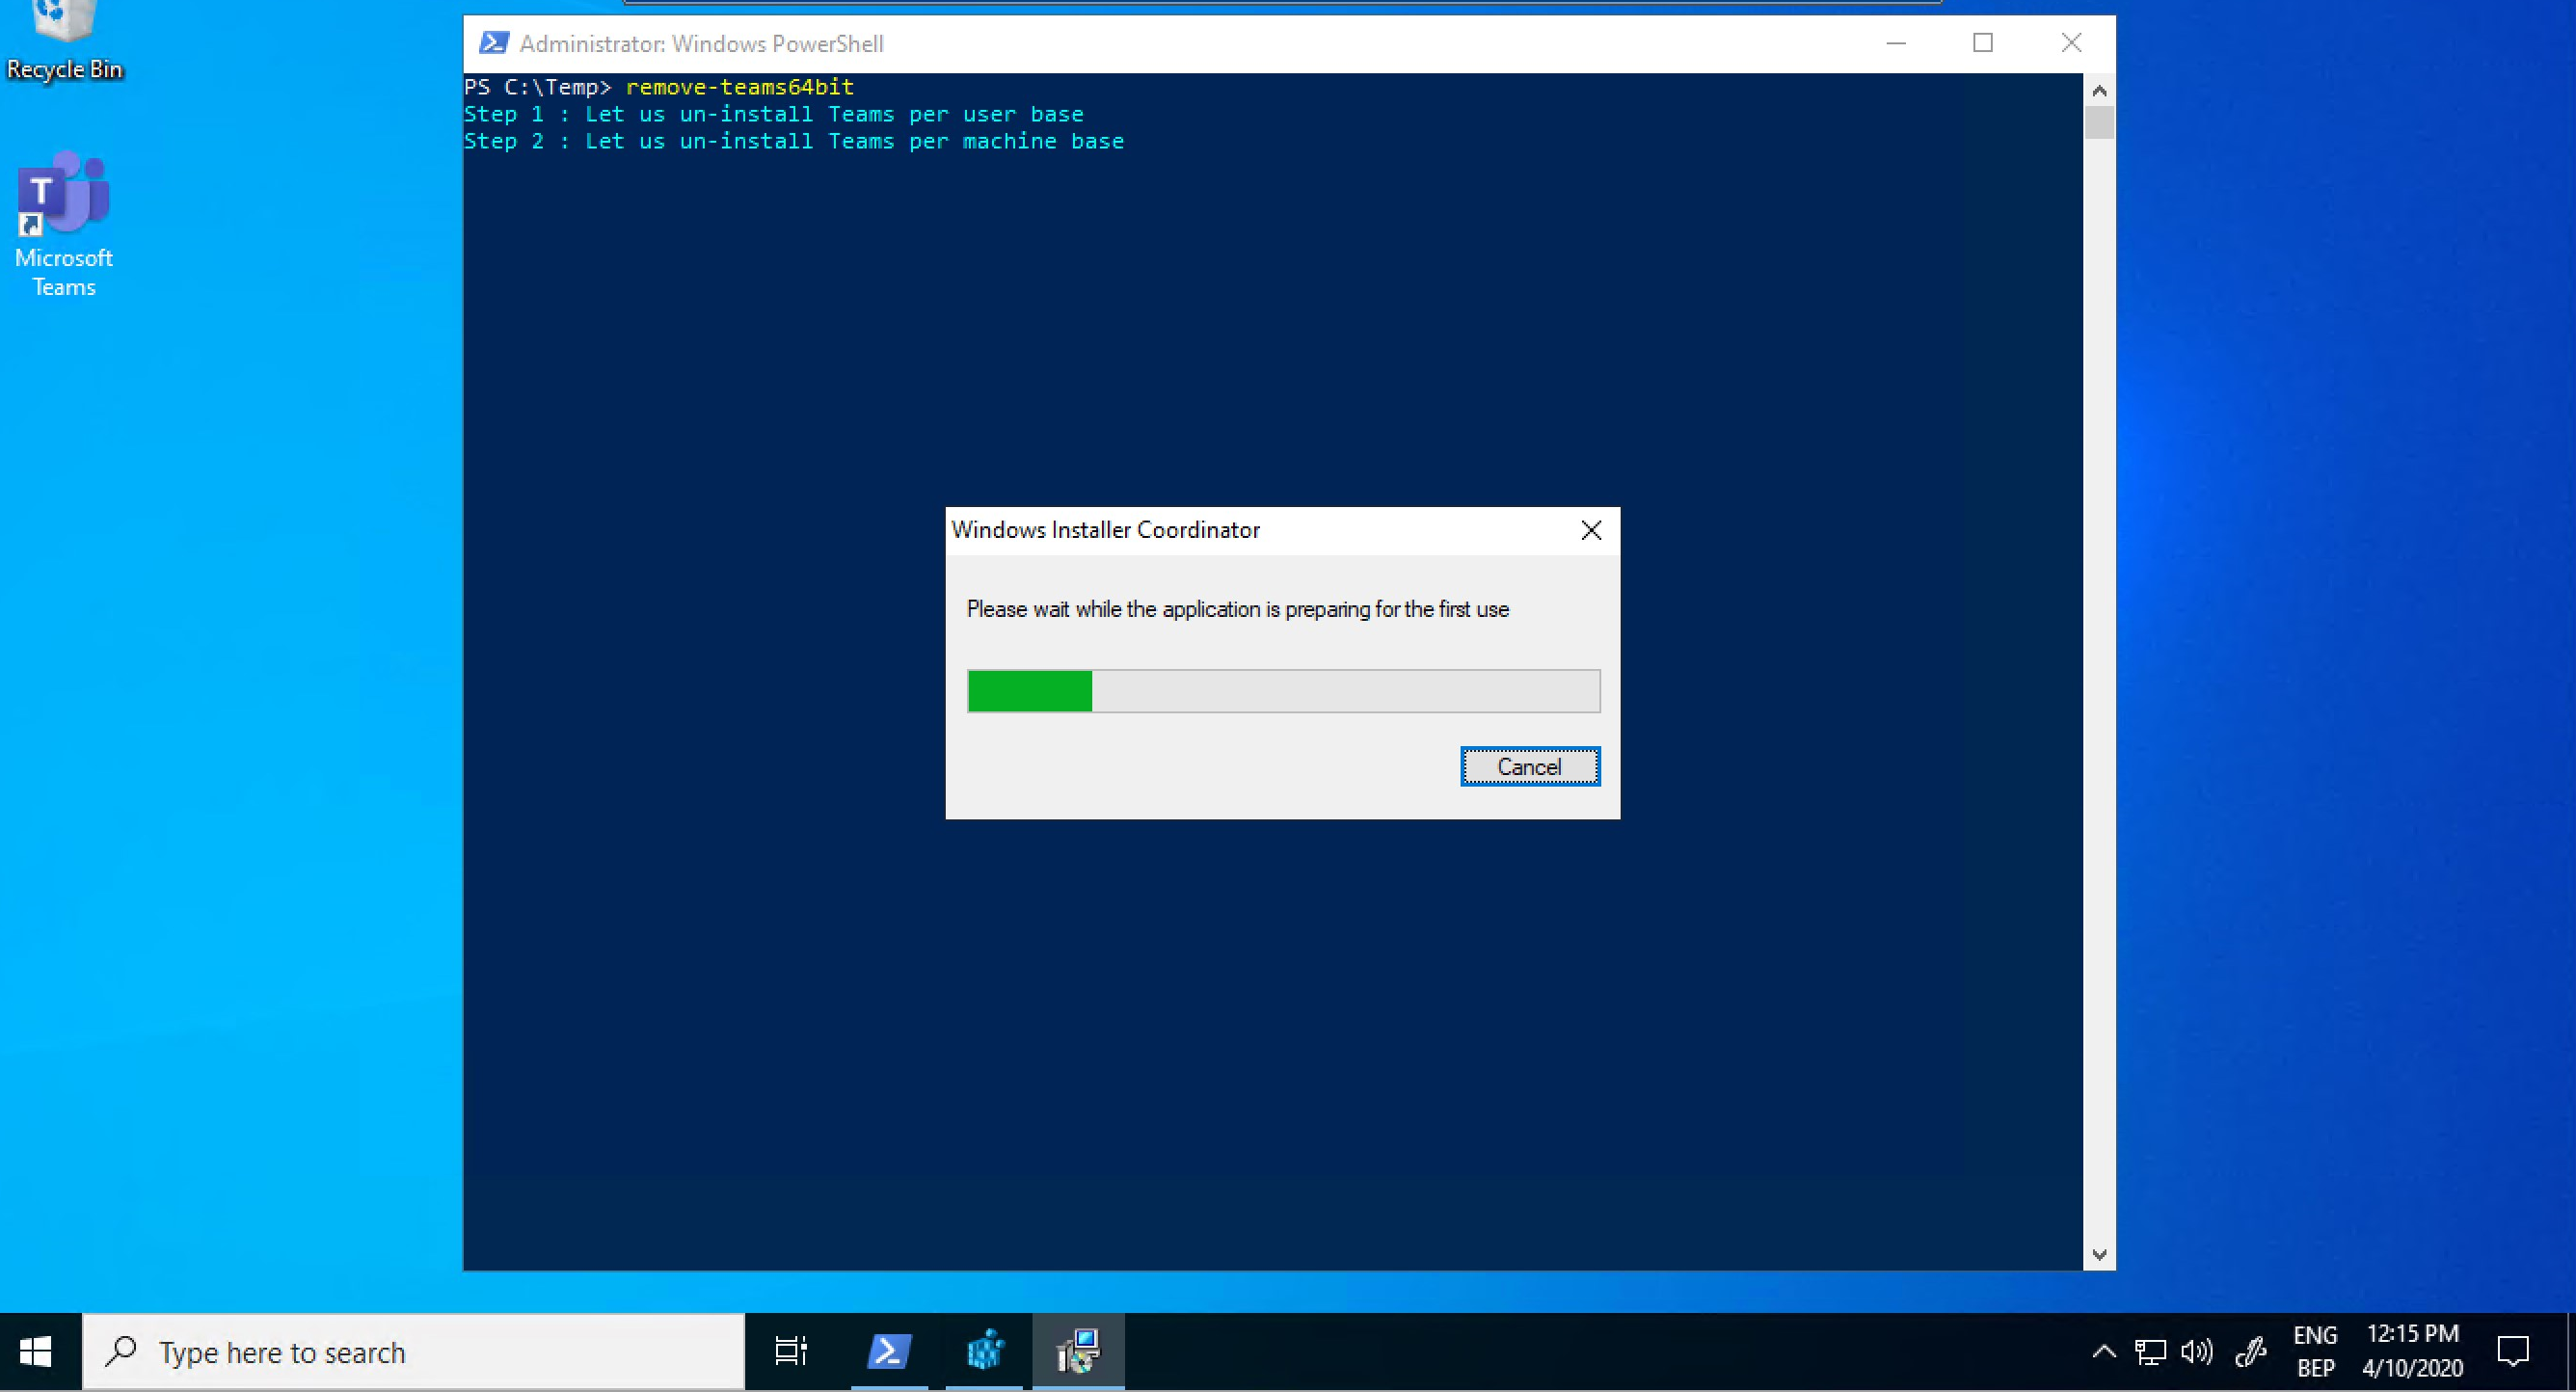
During the removal process, you will see that the Teams Icon is removed from my desktop.

And the registry key has been removed.

My Apps & Features have been cleaned up as well.

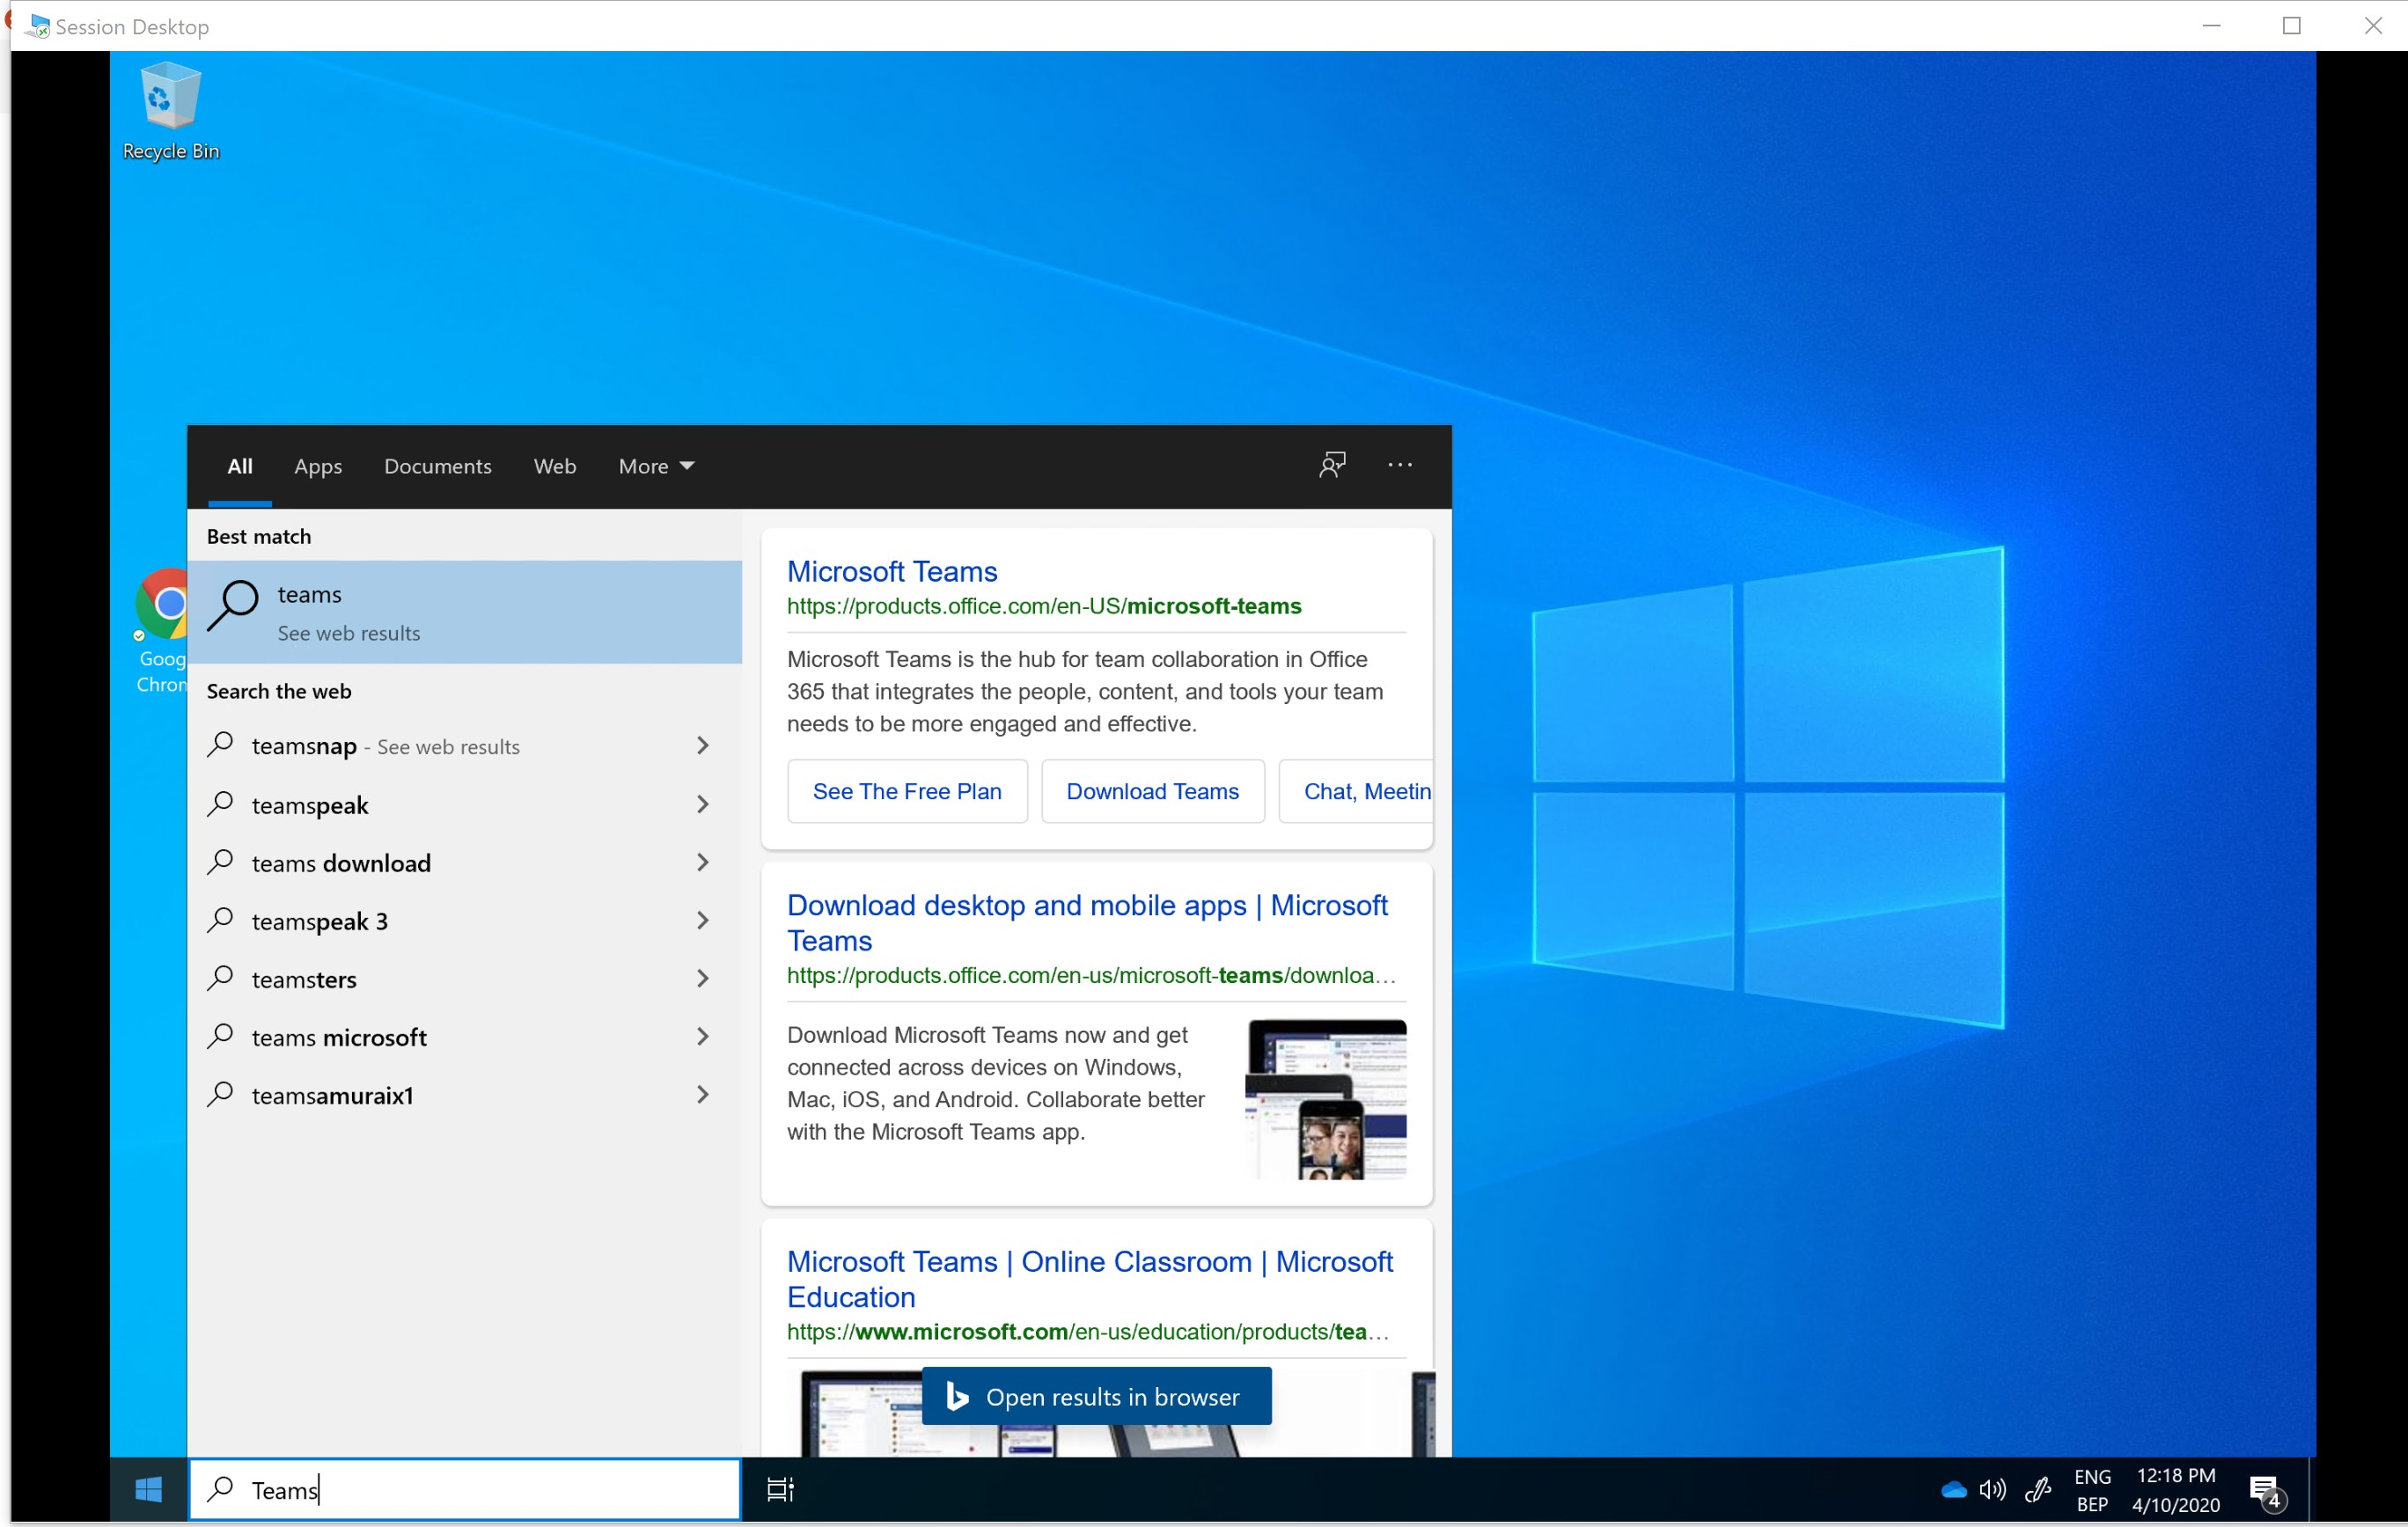
And last but not least, no more entries when searching in Windows Search.
Thank you for your support
Thank you al for reading and discovering my recent blog-post, if you encounter any issues while downloading and using the TeamsOnWVD powershell module. Reach out to me, so I can make the necessary improvements and help you out as soon as possible.